Your Reward Management Platform.
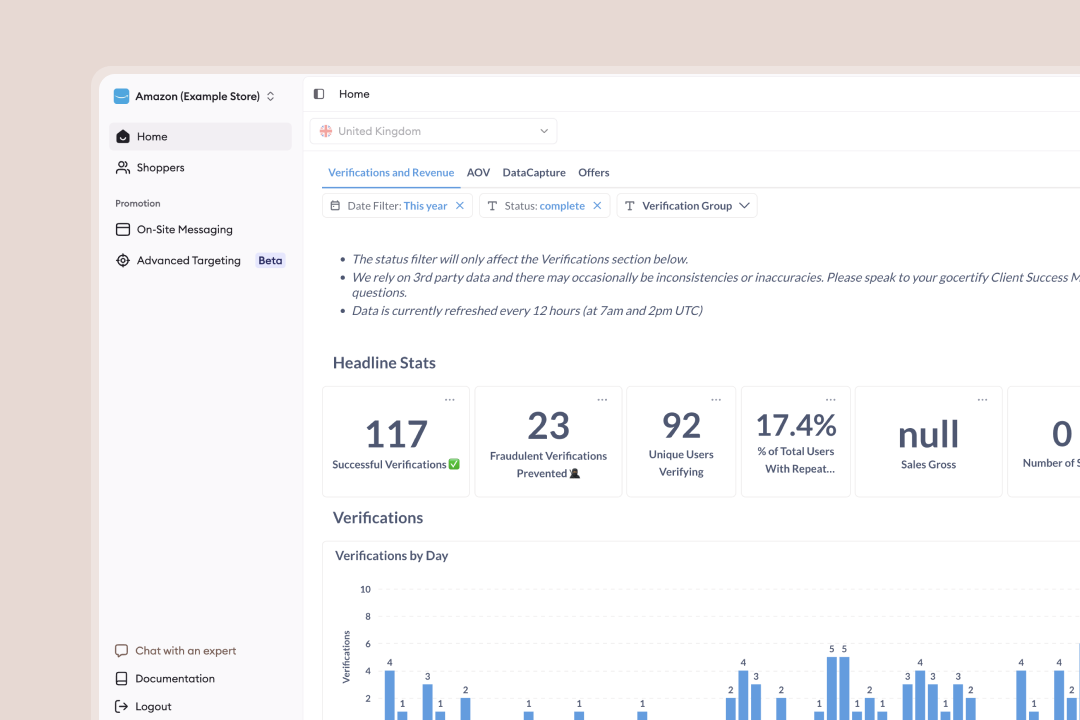
The Gocertify dashboard is your central hub for managing reward campaigns, viewing shopper analytics, and configuring your promotions. Access is secured through password-based authentication with enforced two-factor authentication (2FA) to protect your campaigns and data. What you can do in the dashboard:- View real-time shopper engagement reports and analytics
- Download CSV exports of verification data
- Configure on-site messages
- Manage team access and permissions
Authentication Methods
Access to the Gocertify platform is secured with:- Password-Based Login: Users create and manage their own passwords, reducing the risk of magic-link–related issues (such as intercepted or expired links).
- Single Sign-On (SSO): Login via Microsoft 365 or Google for seamless access.
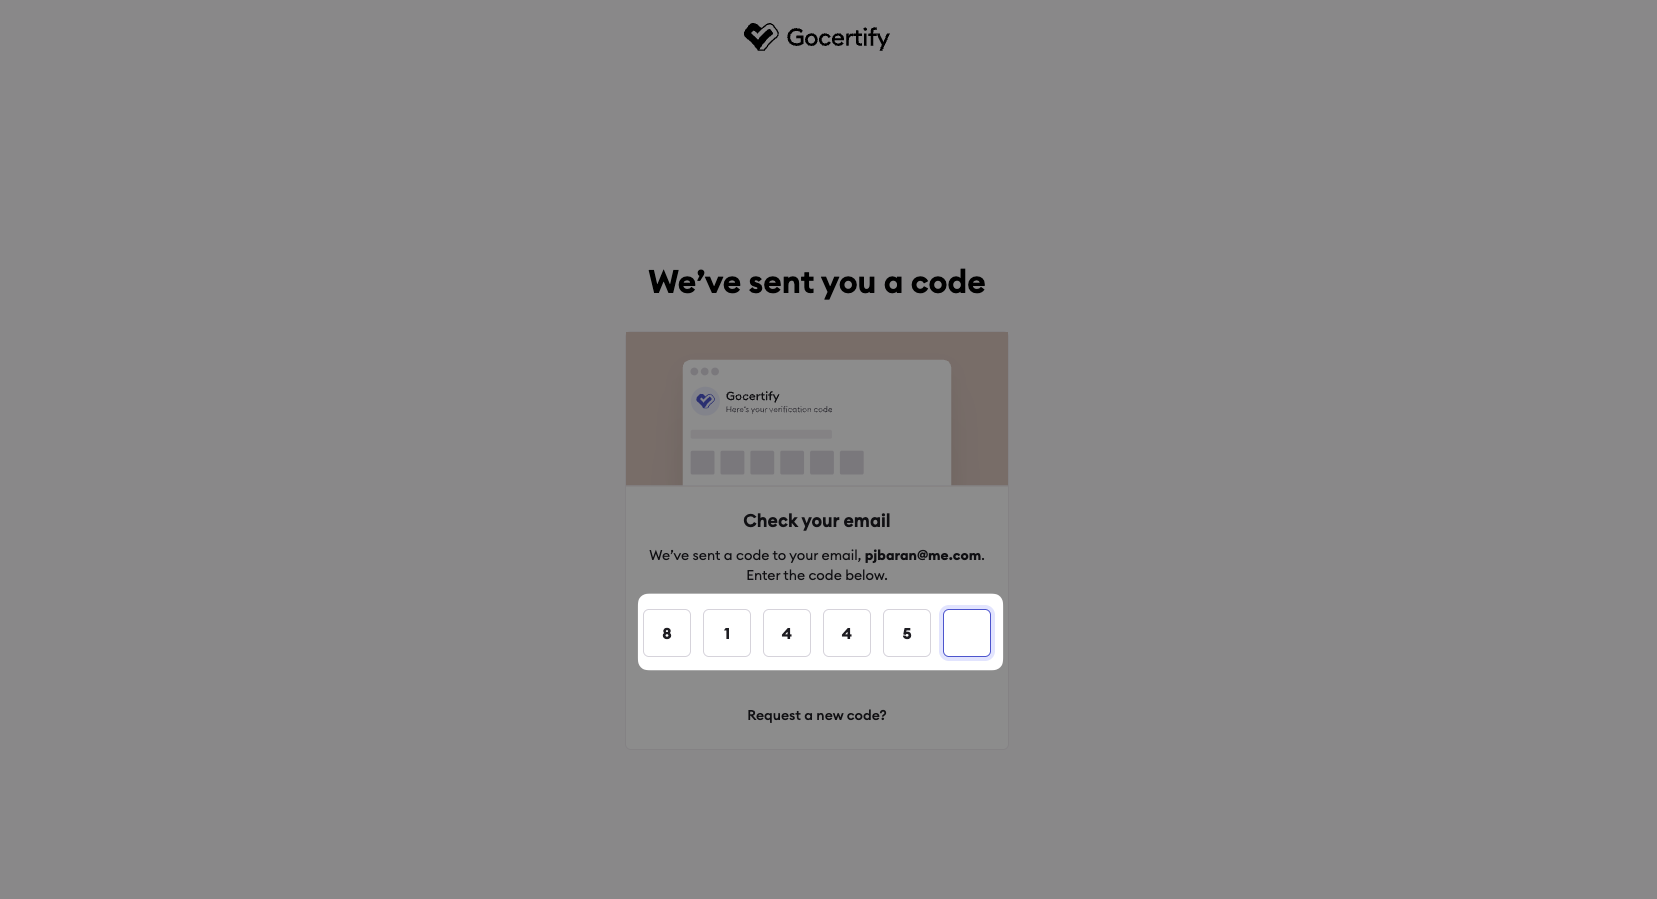
- Enforced Two-Factor Authentication (2FA): All logins require a one-time code sent to your registered email address.
- Secure Session Management: Each login requires both a valid password and a fresh 2FA code.
Personal Account Management
Logging In
Logging In
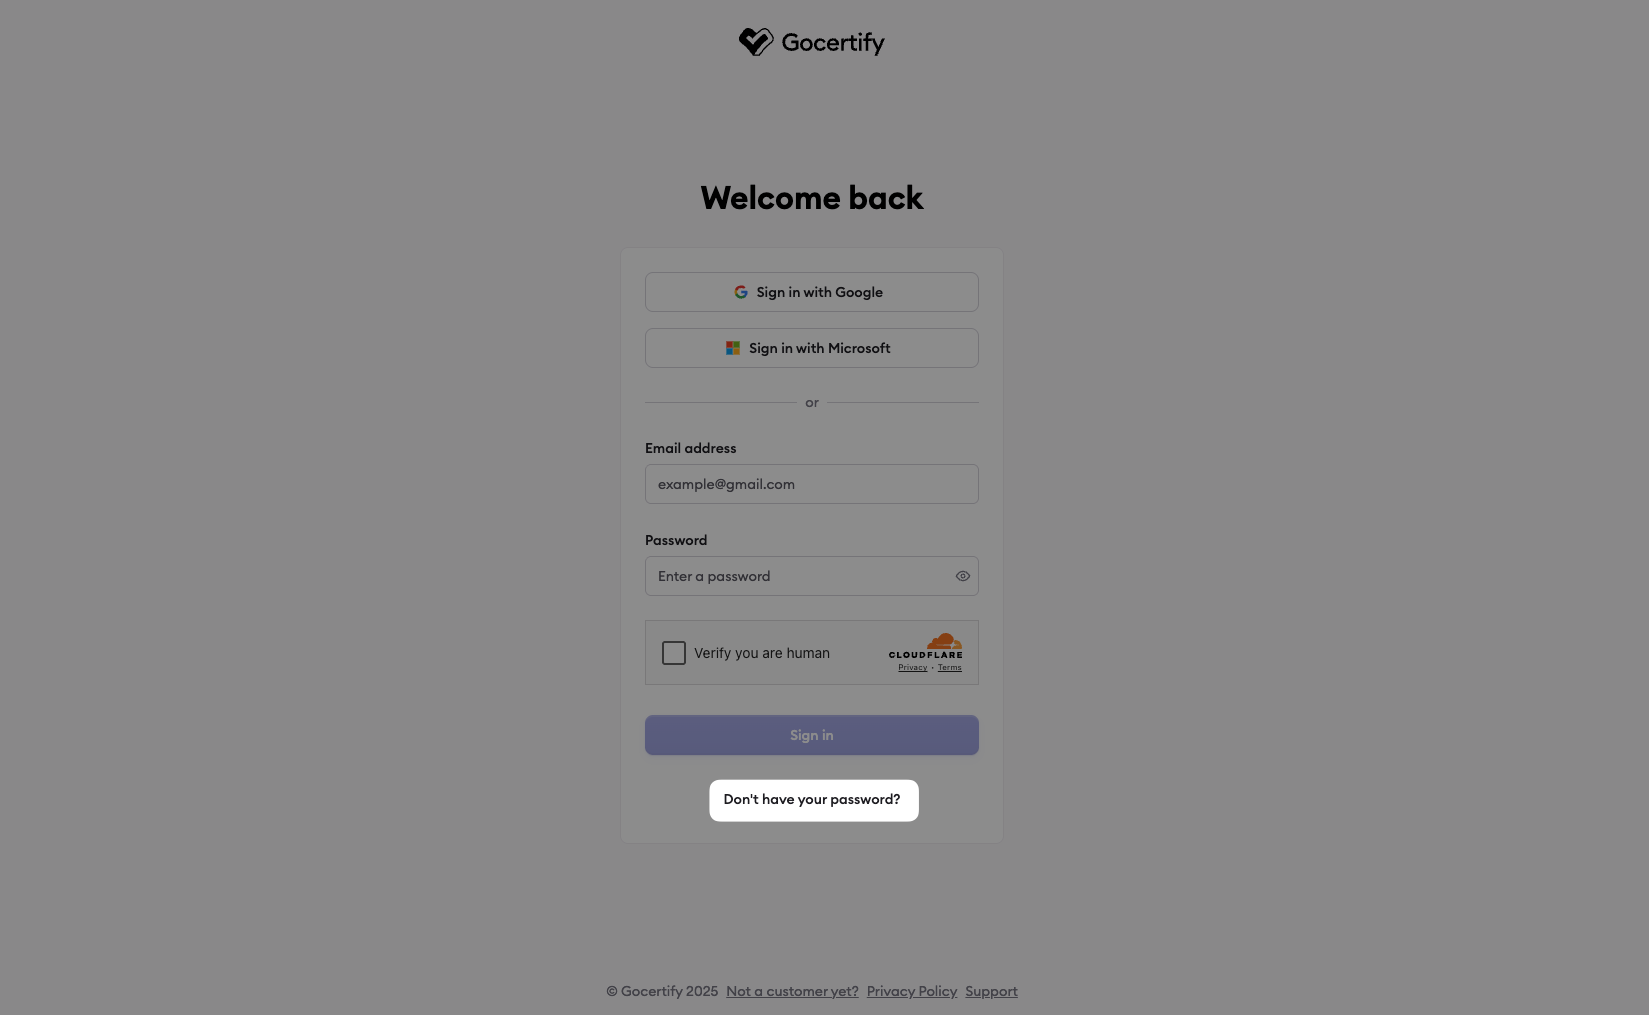
Navigate to the login screen to access your dashboard. Gocertify supports: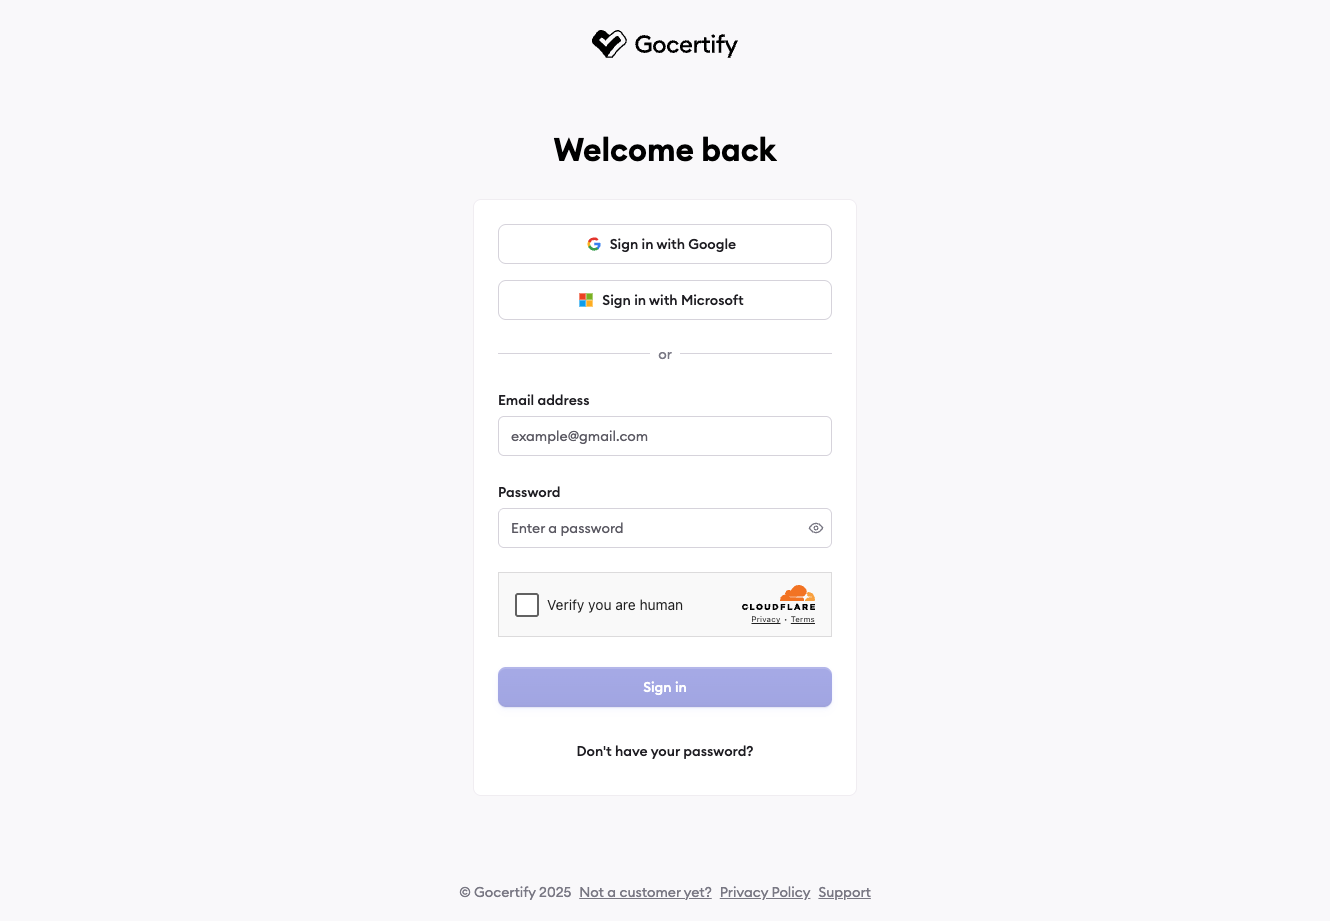
- Email/Password login
- SSO login Microsoft 365 or Google
SSO Login (Microsoft 365 or Google)
SSO Login (Microsoft 365 or Google)
Select your SSO provider
Select your SSO provider from the list of available providers. The email you’ve been invited with must be managed by that SSO provider.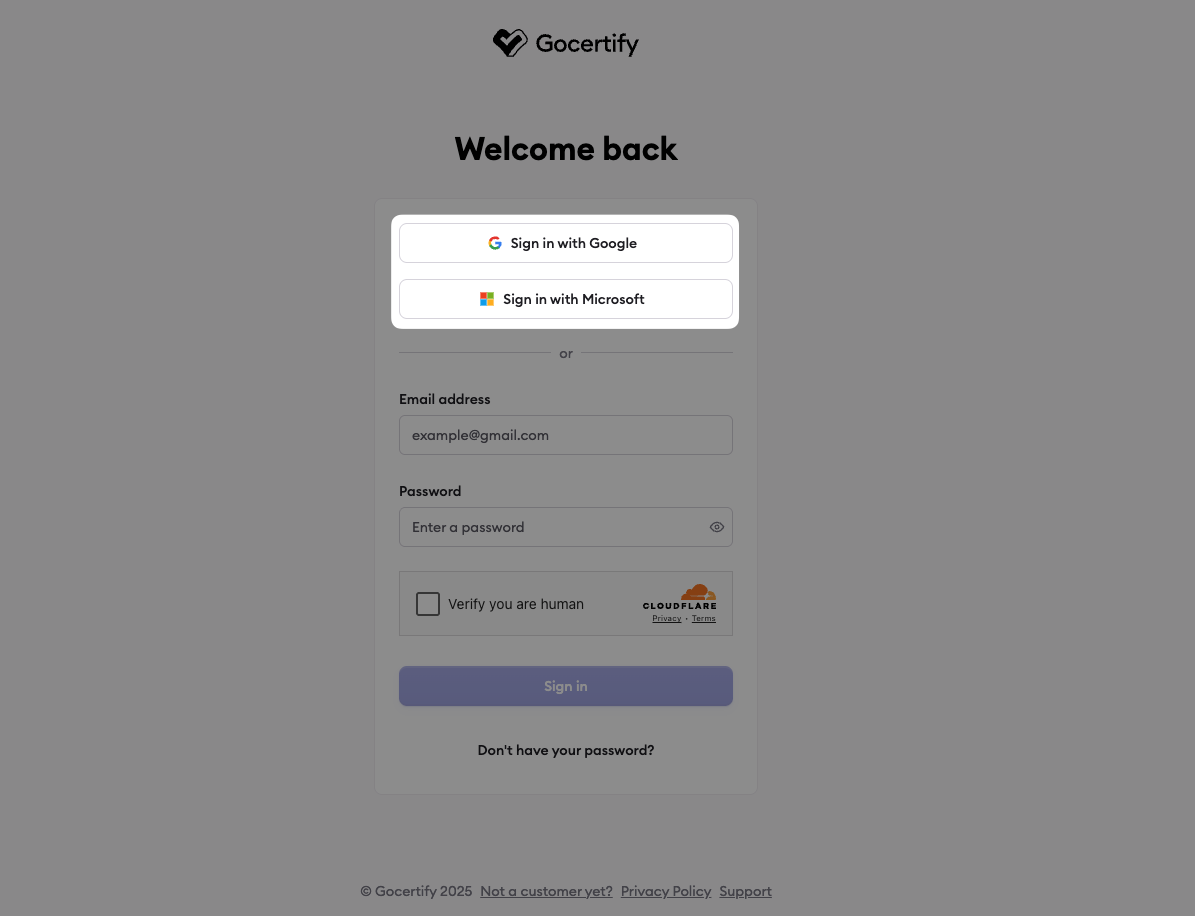
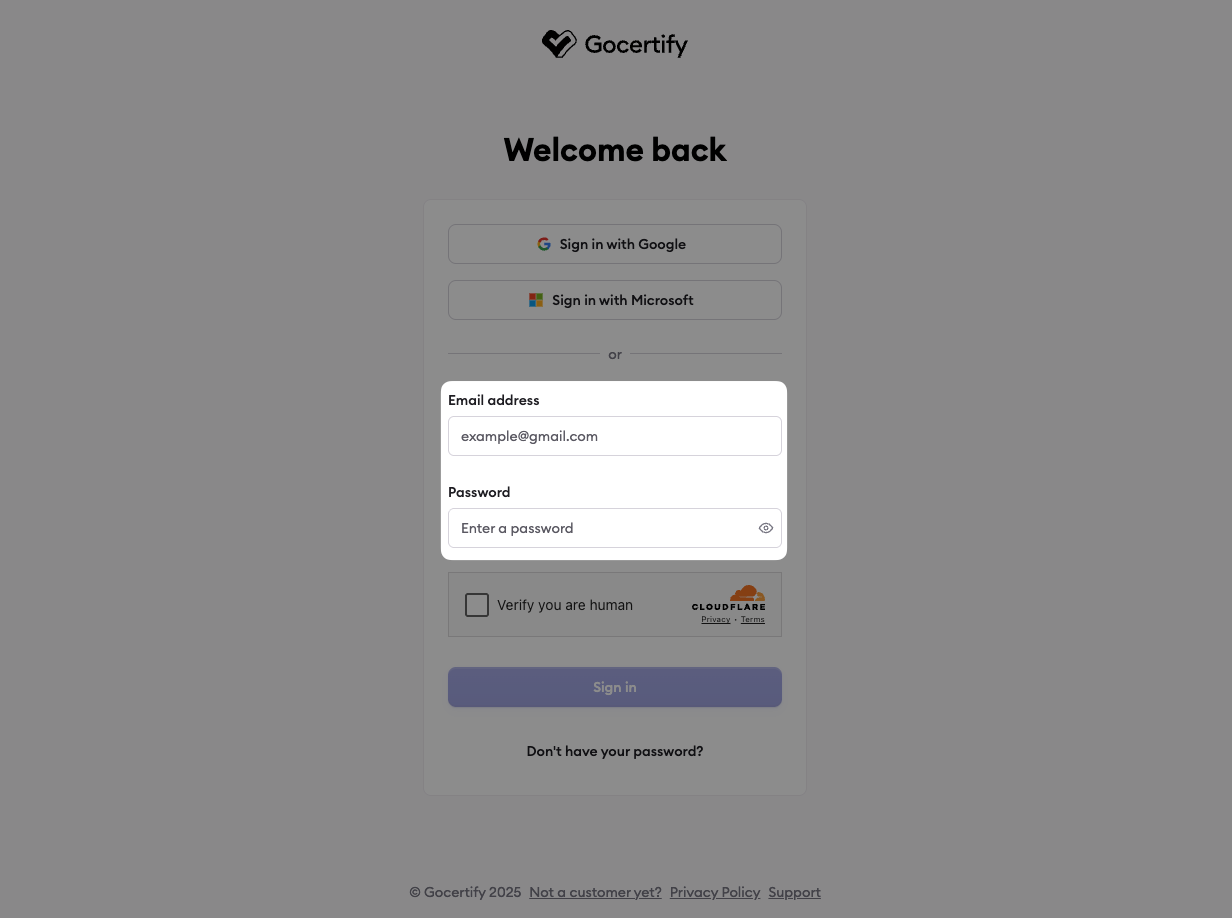
Email/Password Login
Email/Password Login
Retrieve your 2FA code from email
You will receive an email with a 2FA code. If you don’t see it, check your spam folder or resend the code.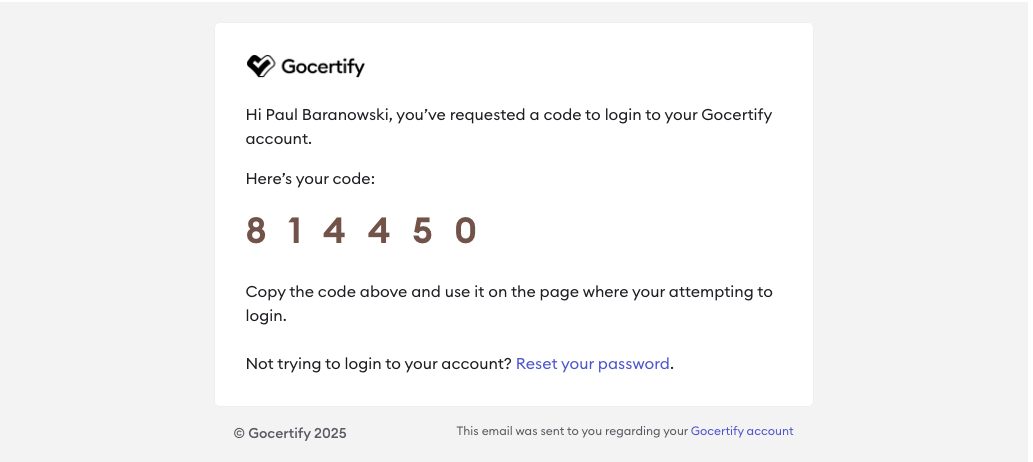
First-Time Setup (Onboarding)
First-Time Setup (Onboarding)
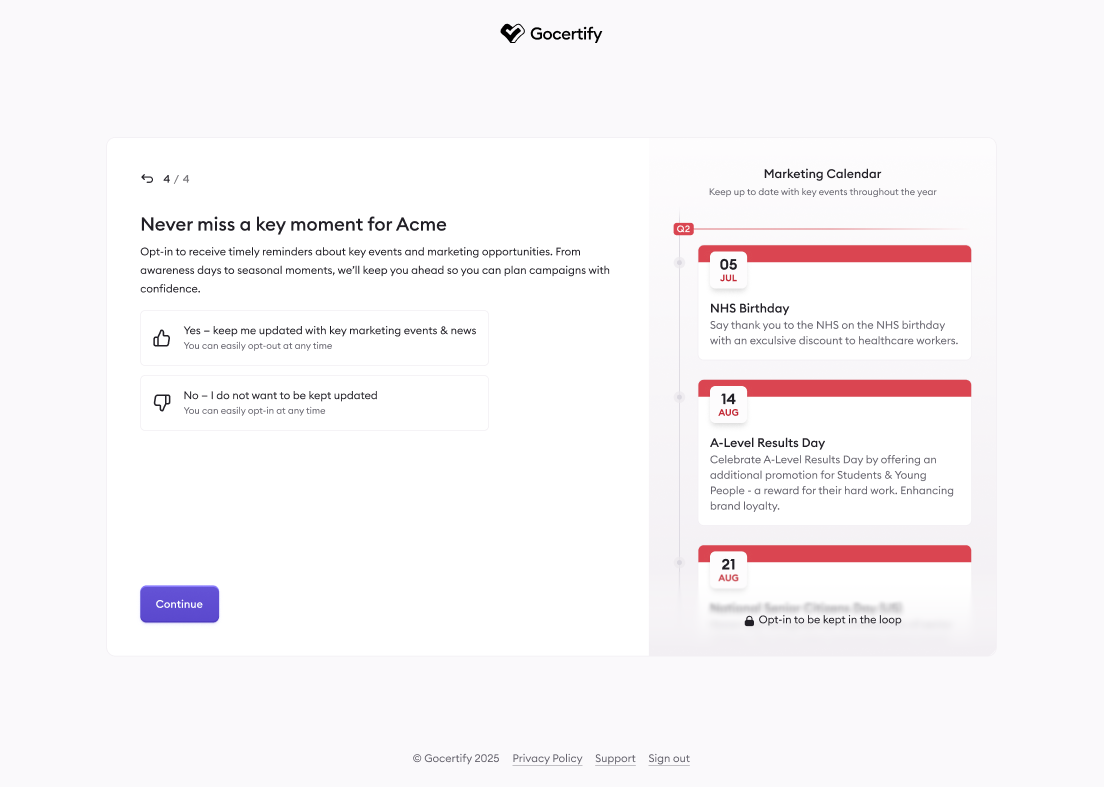
When you log in to the Gocertify dashboard for the first time, you’ll be guided through a four-step onboarding process. This helps ensure you have everything configured properly from the start.Once you complete these steps, you’ll have full access to your dashboard with your preferences already configured.
Set up your profile
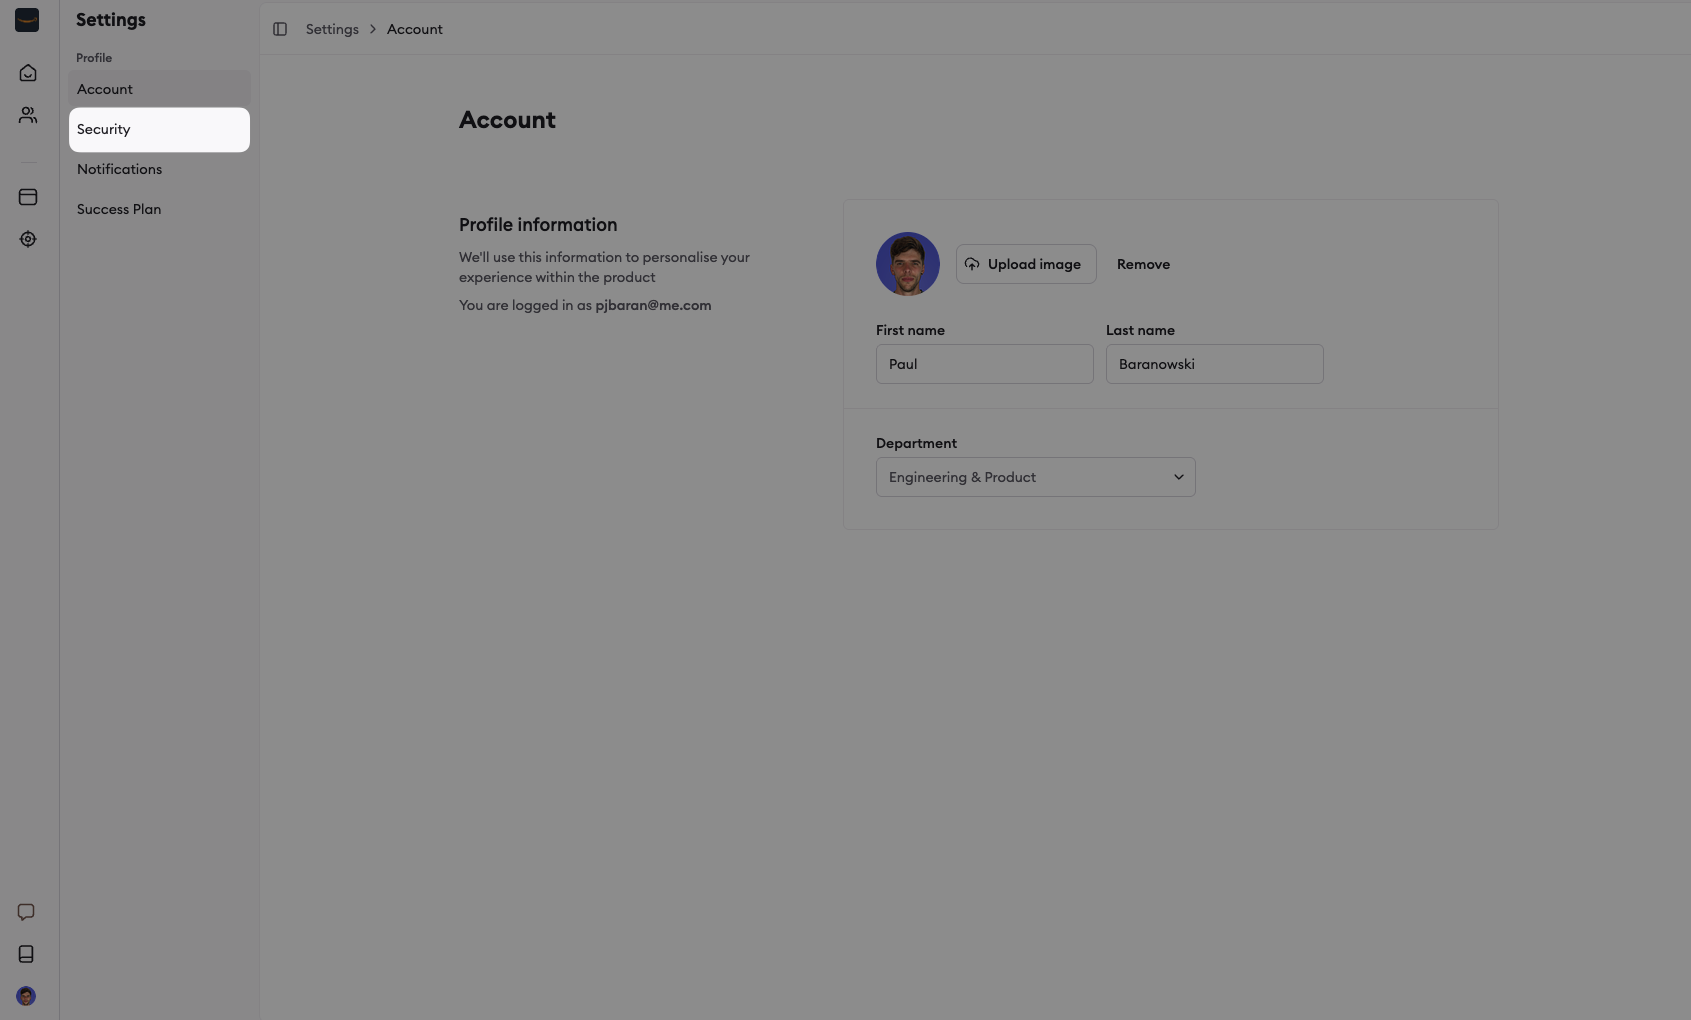
Enter your first and last name, and optionally upload a profile picture. You can also choose whether to allow Gocertify to collect usage data to improve your experience.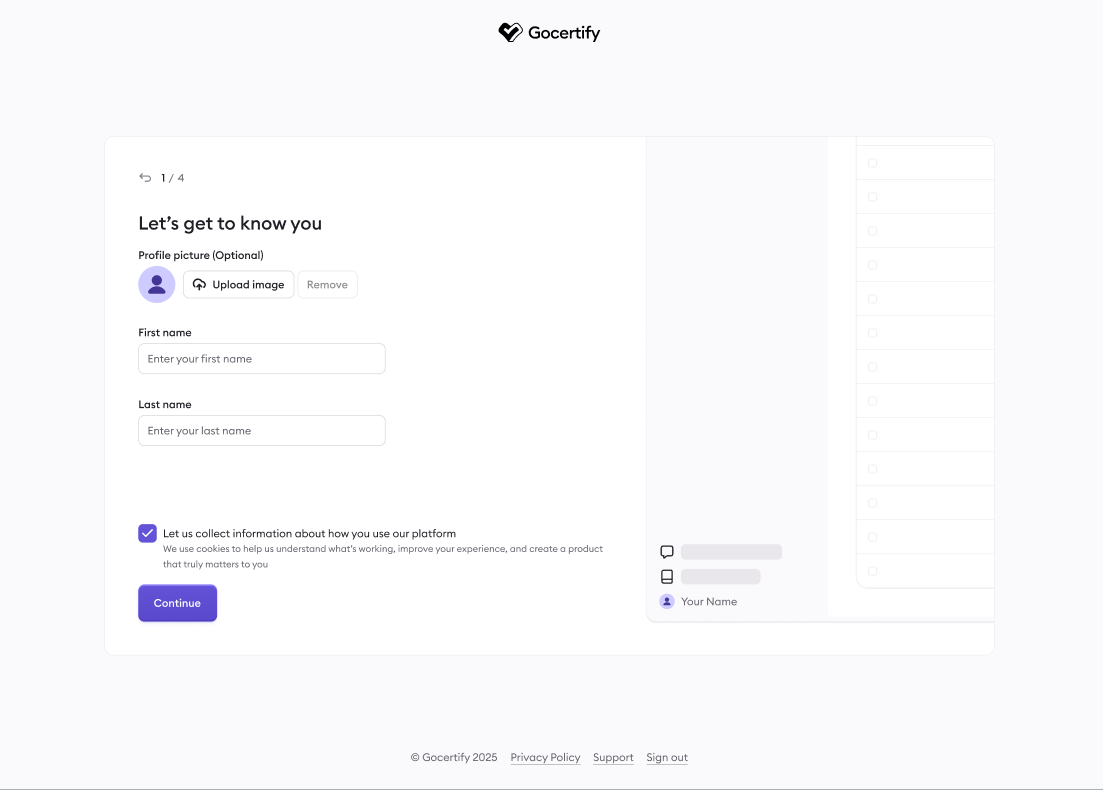
Select your department
Tell us what kind of work you do. This helps us tailor the dashboard experience to your role, whether you’re in marketing, e-commerce, affiliates, or another area.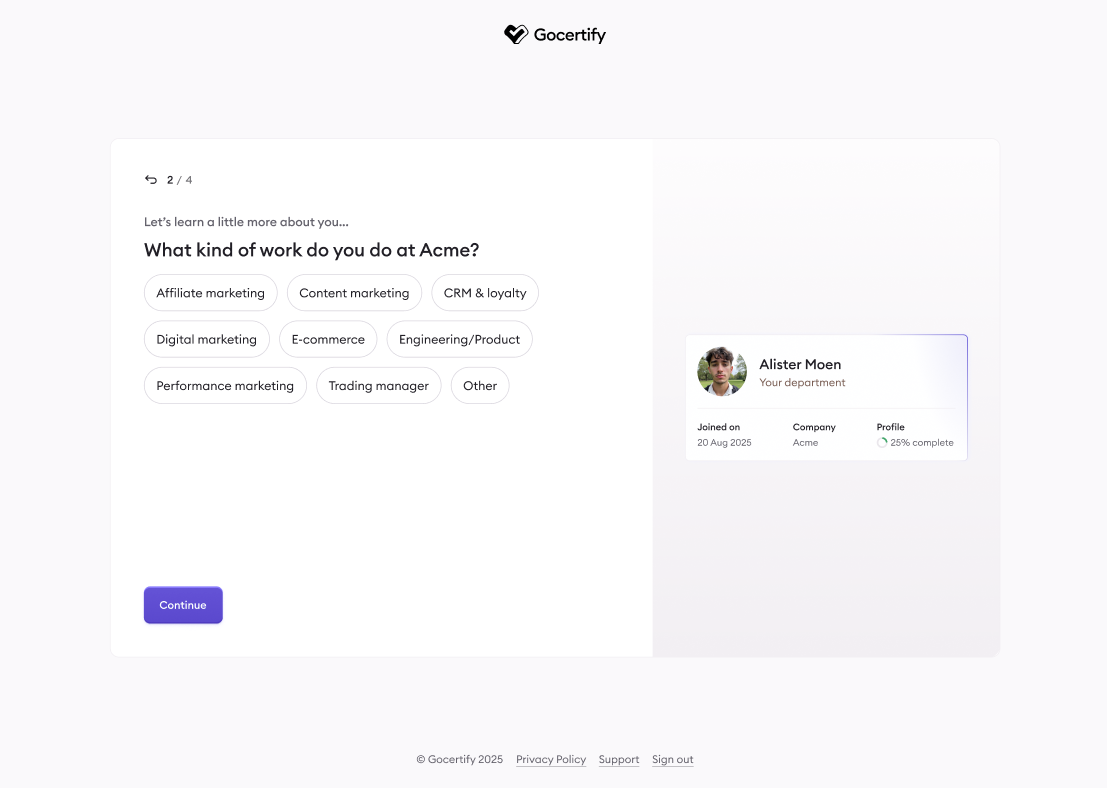
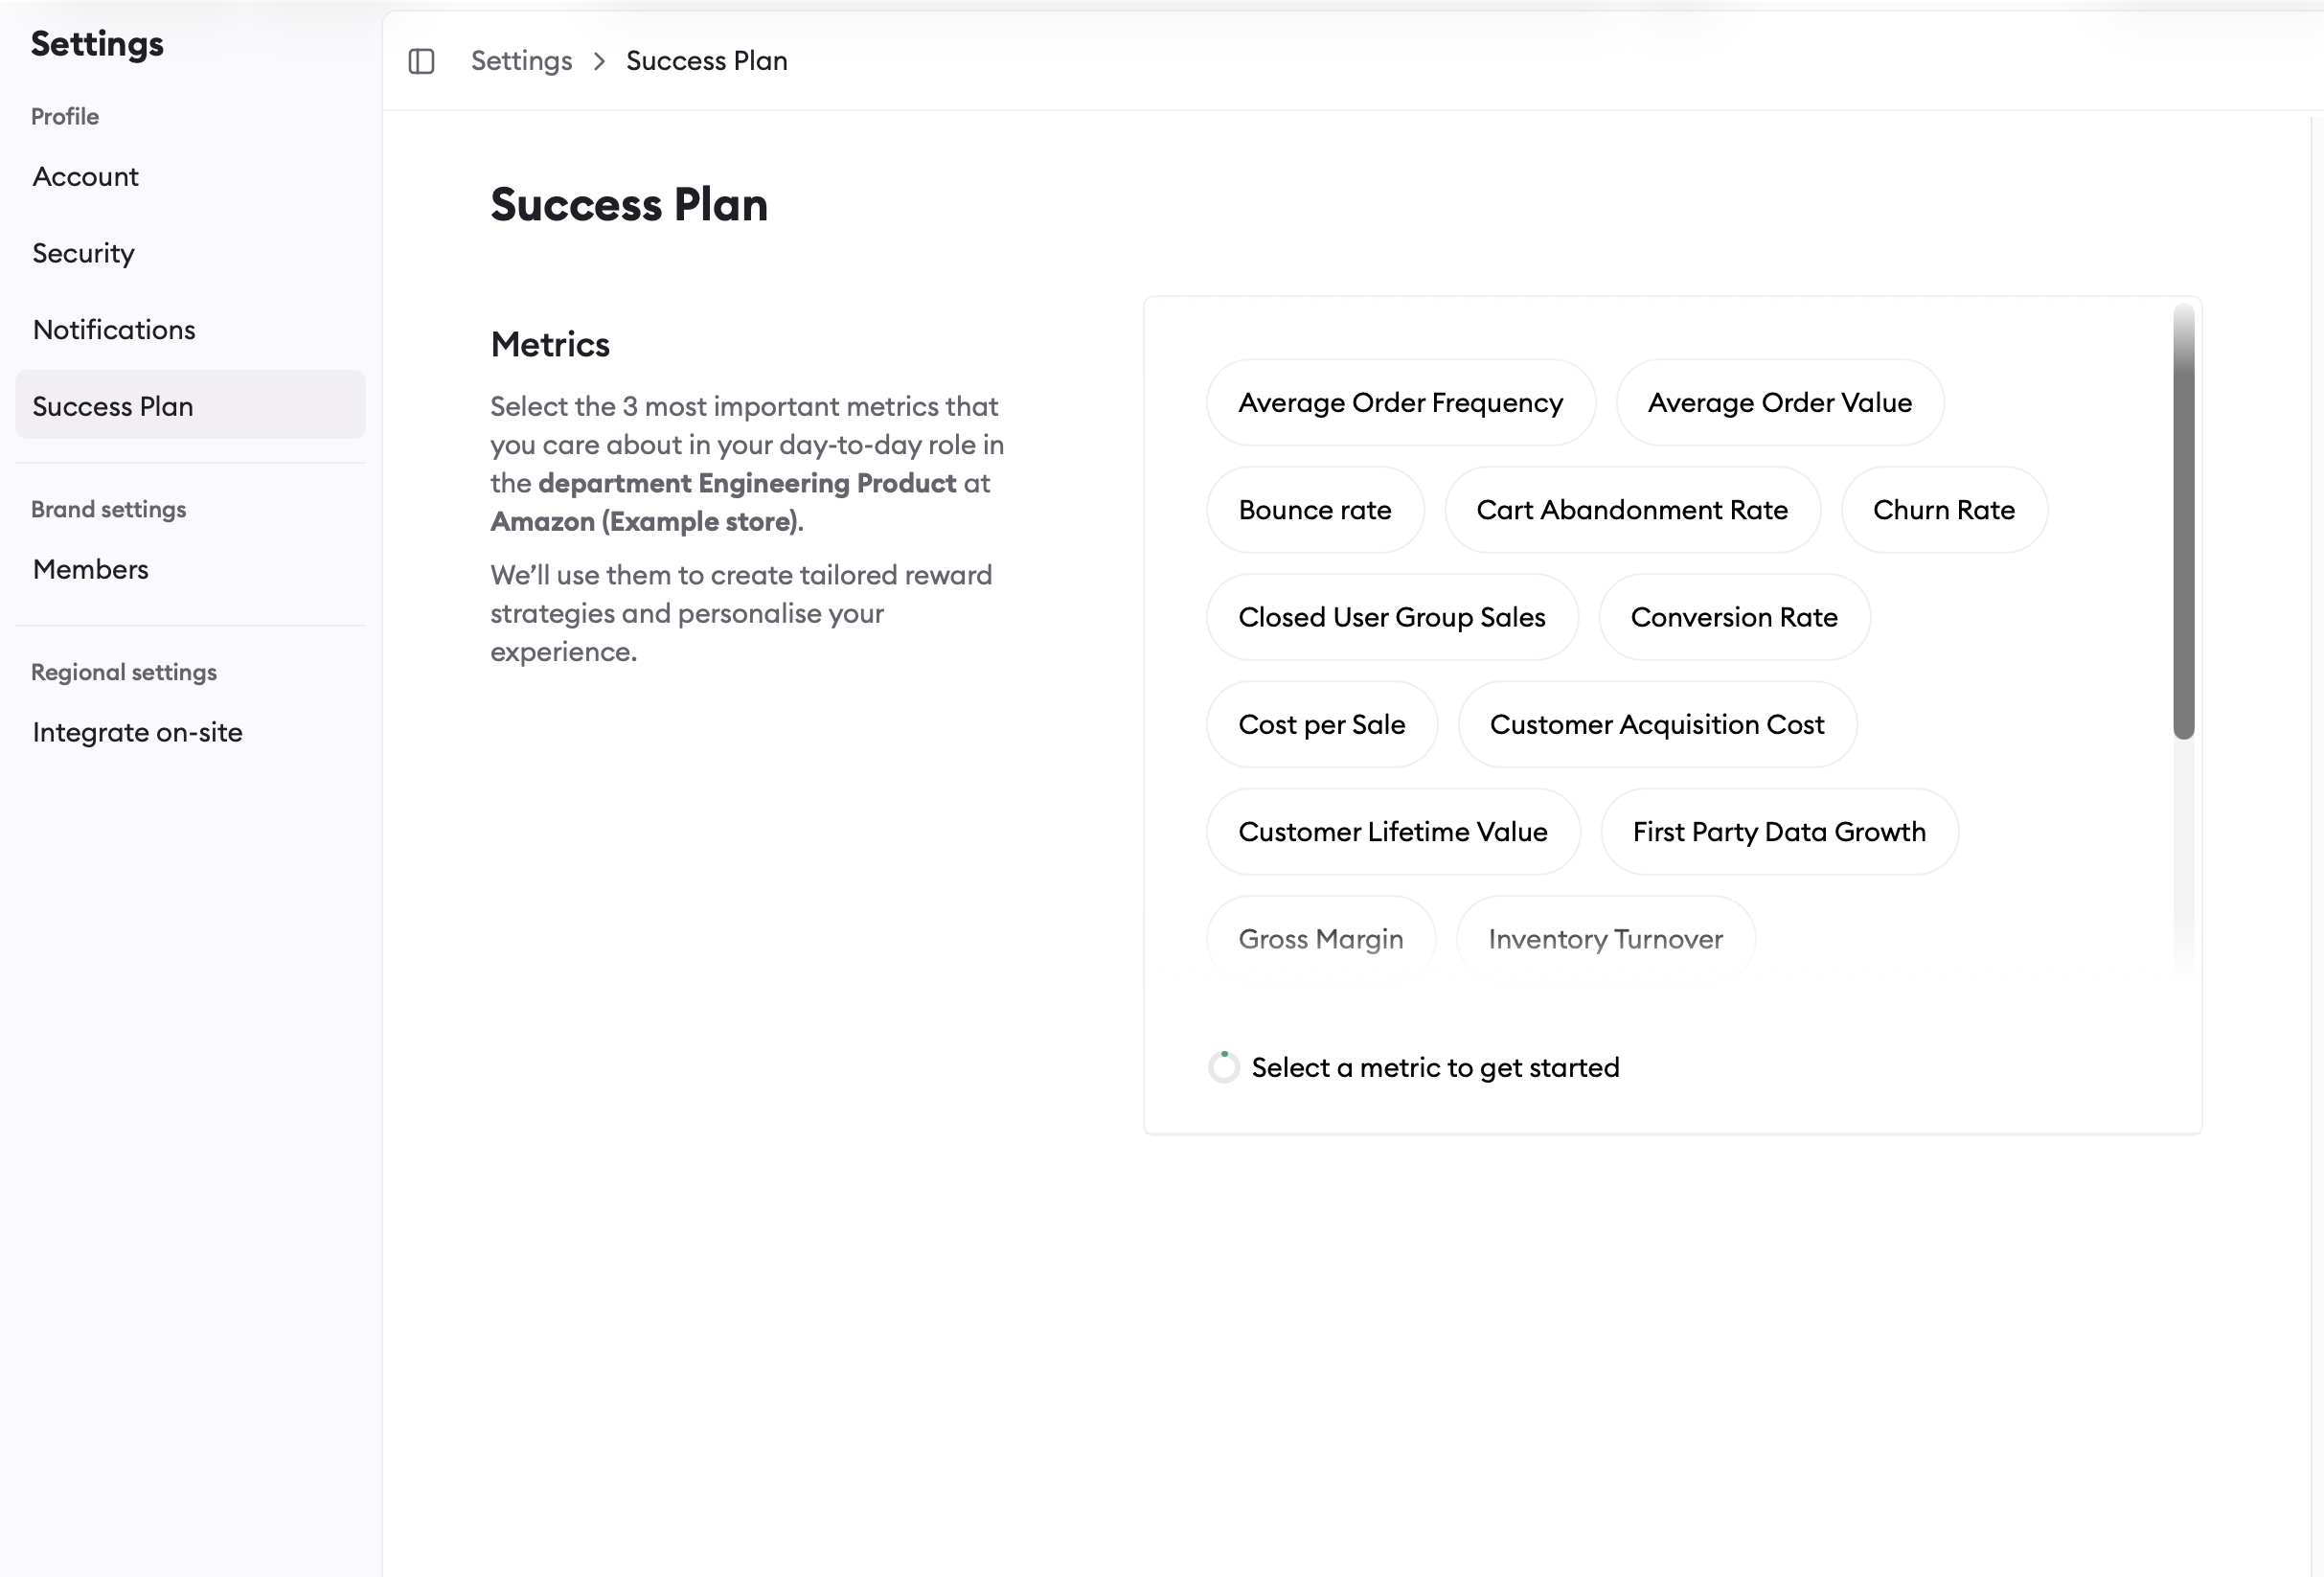
Choose your success metrics
Select the metrics that matter most to you in your day-to-day work, such as conversion rate, average order value, or customer acquisition cost. This will tailor your dashboard experience and help surface the most relevant data.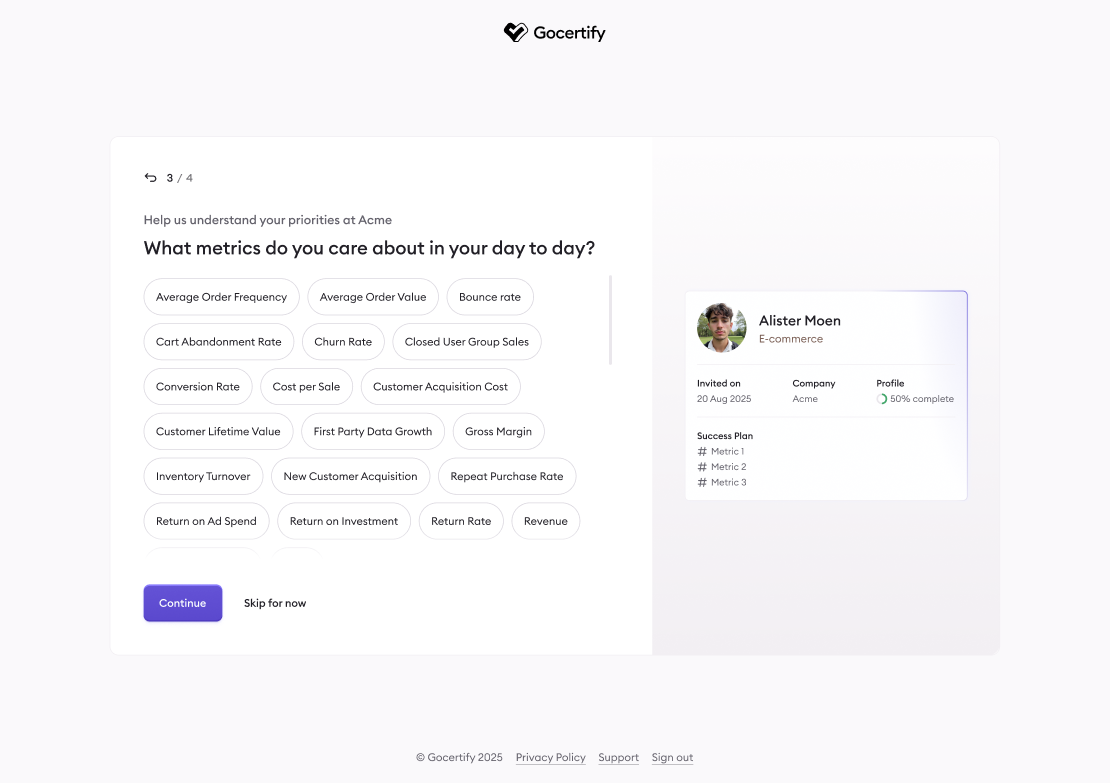
Password Reset
Password Reset
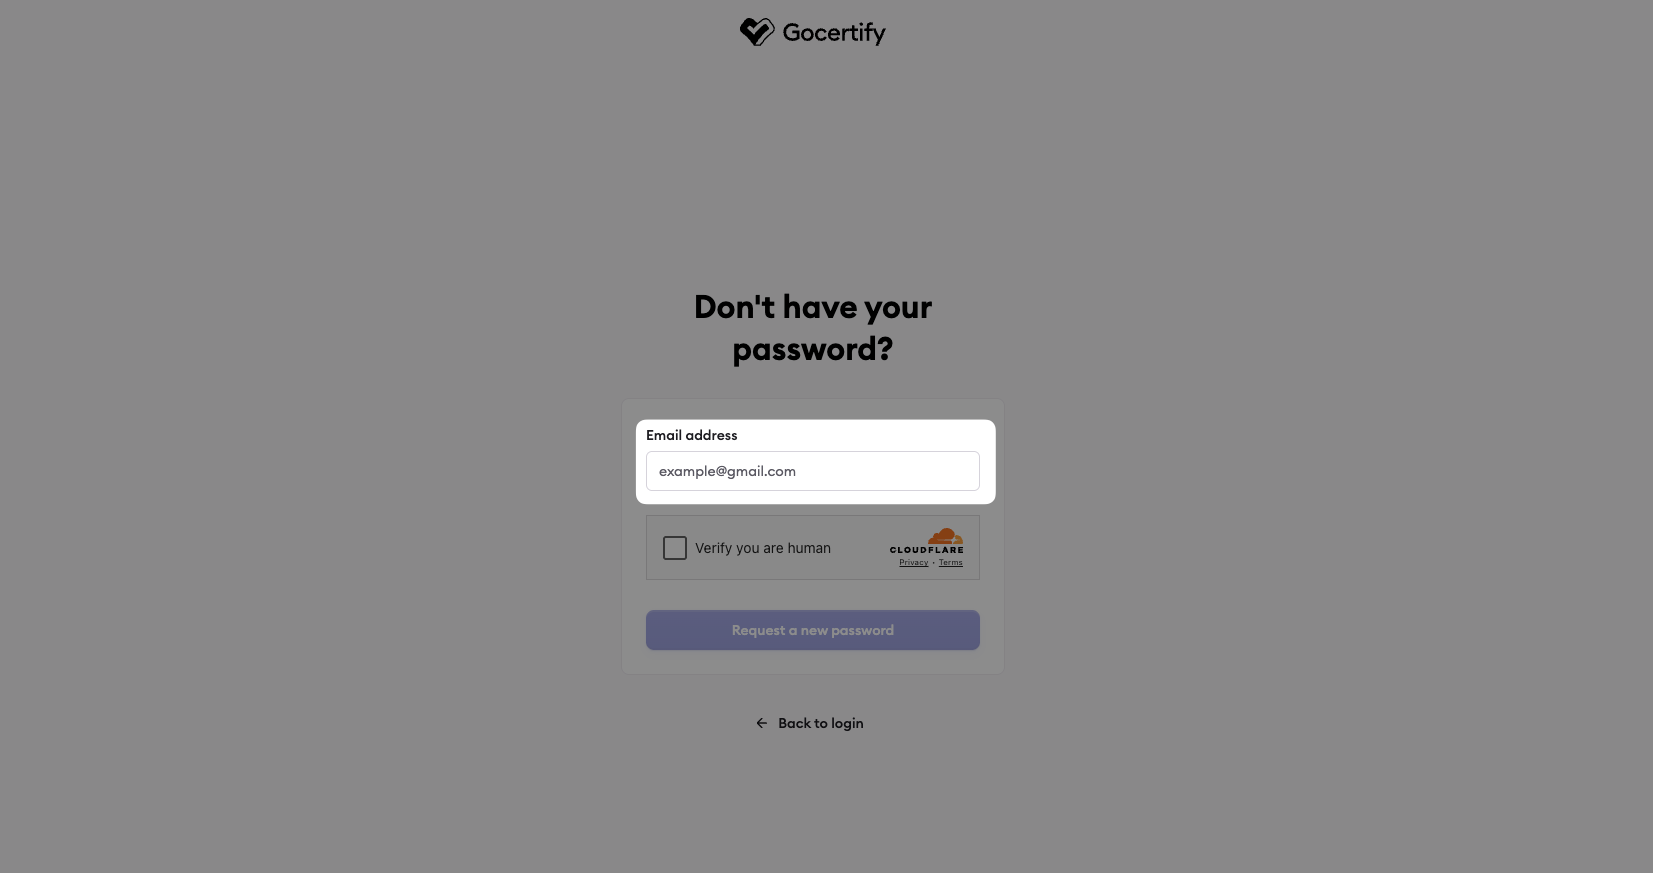
To reset your password, or for users who joined Gocertify before we migrated from magic link to password login, you can reset your password via the login screen or directly from the forgotten password screen.
Check for password reset email
You will receive confirmation that the email has been sent. If you don’t receive it, check your spam or select “Haven’t received an email?”
Click 'Reset my Password' in the email
In the email you received, click “Reset my Password” to open the password reset page.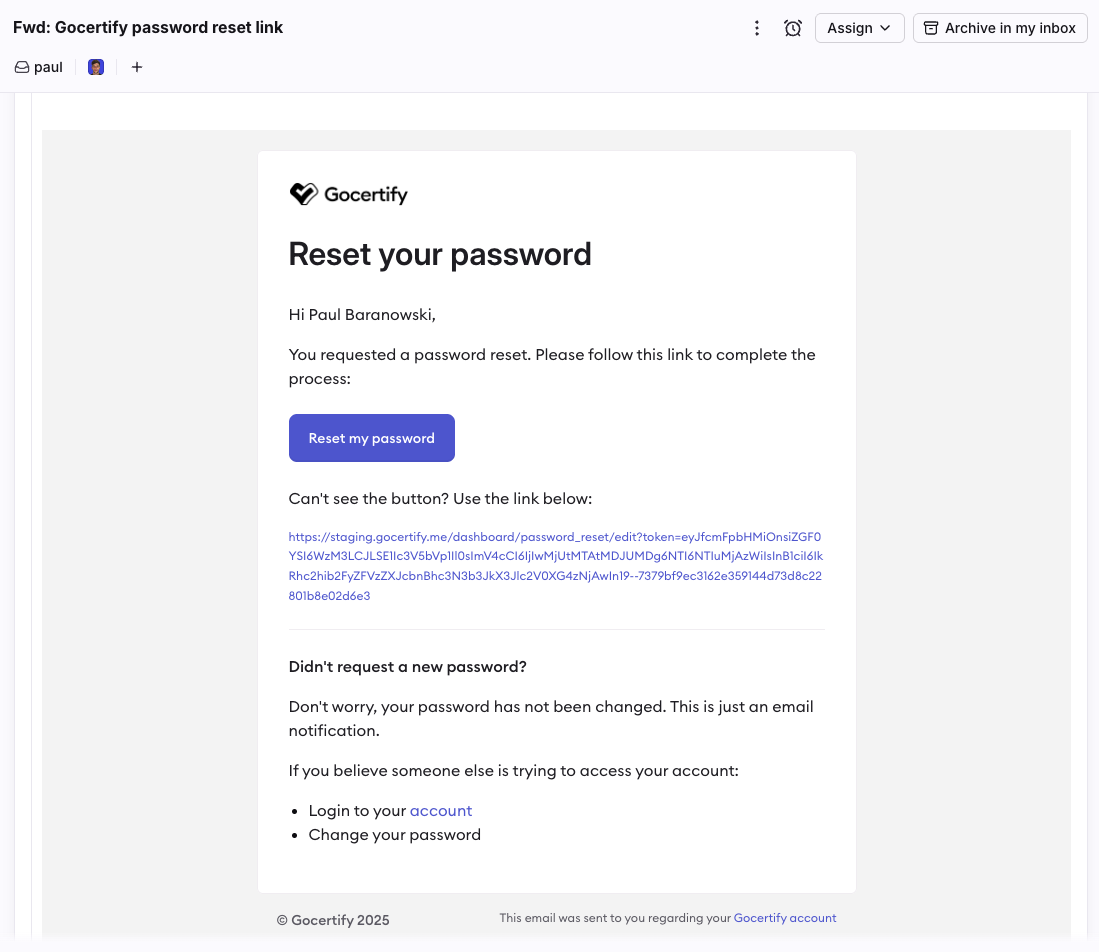
Enter your new password
A new tab will open and you can enter your new password. It must meet the validation requirements. Each requirement will turn into a green checkmark when met.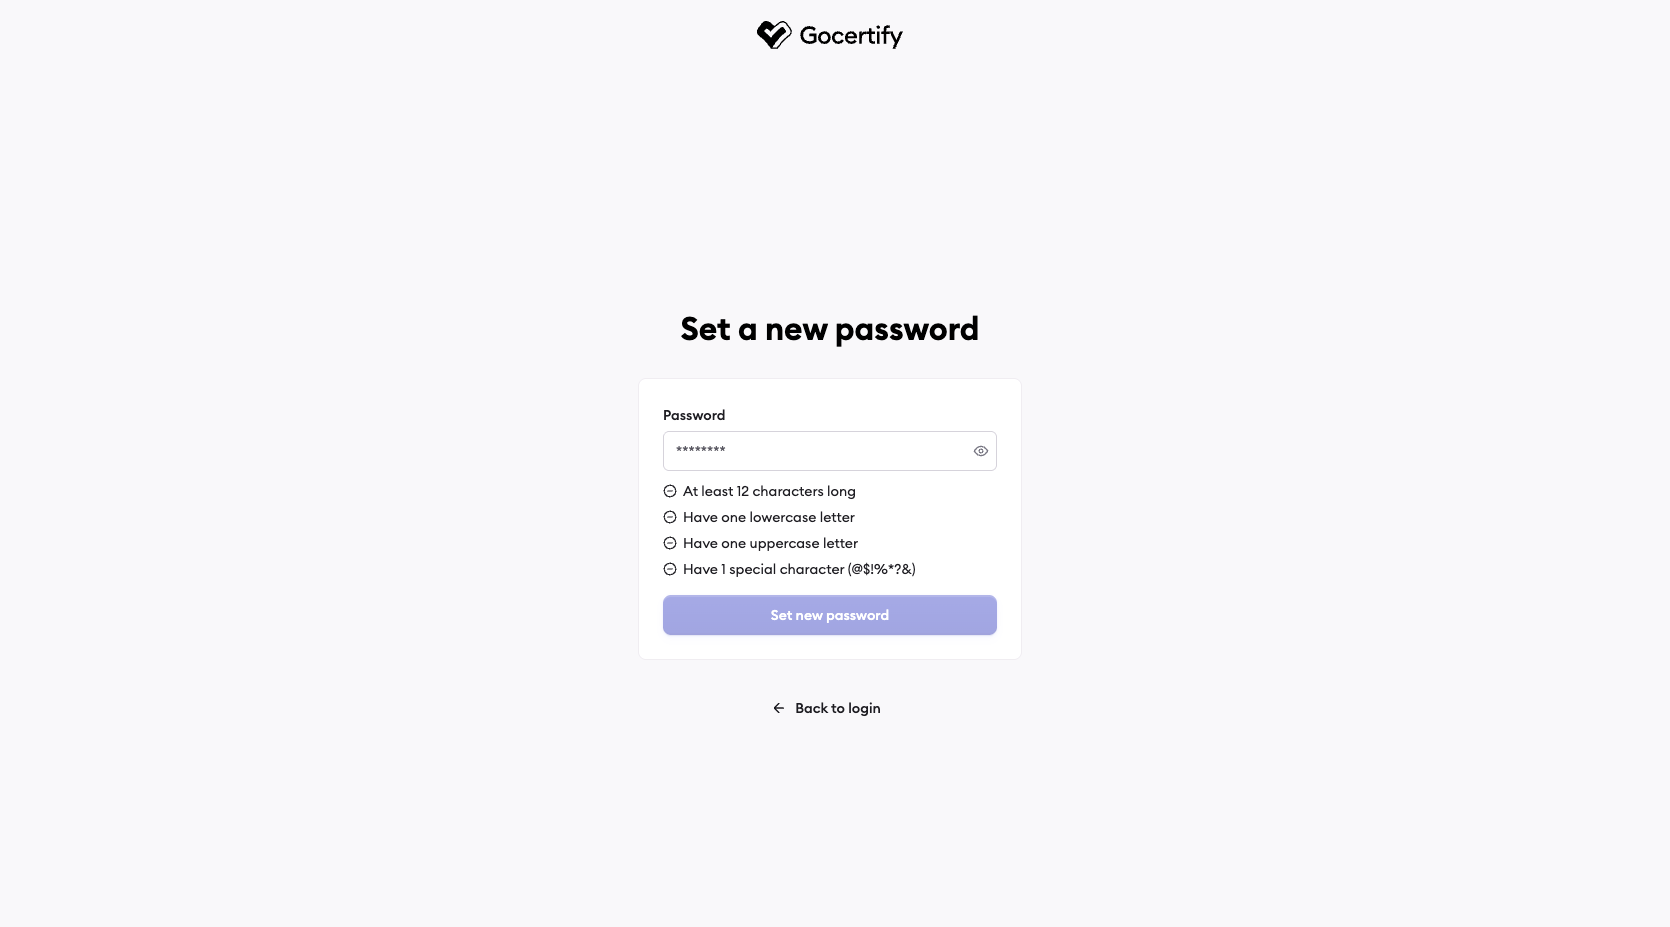
Password change confirmation
The page will update to confirm that your password has been changed and after 5 seconds you will be redirected to the login screen.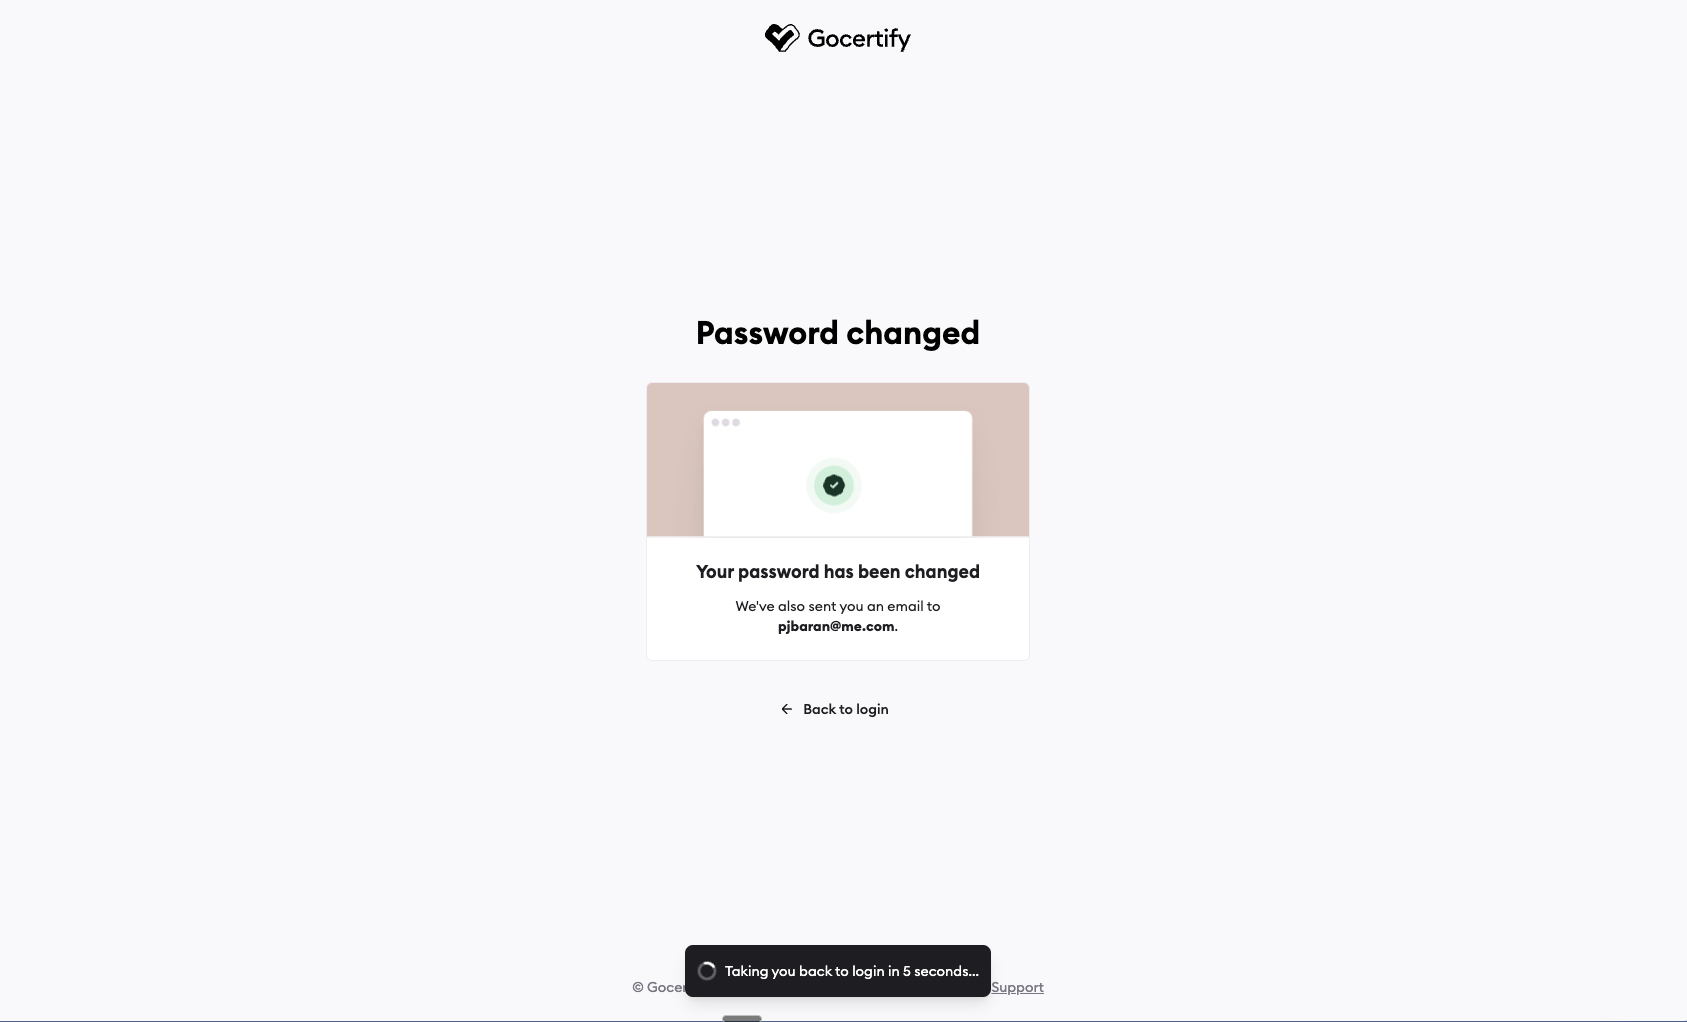
Account Blocking & Recovery
Account Blocking & Recovery
Your account may be temporarily blocked after multiple failed login attempts. This is a security measure to protect your account. You can unblock your account by resetting your password—no need to contact support.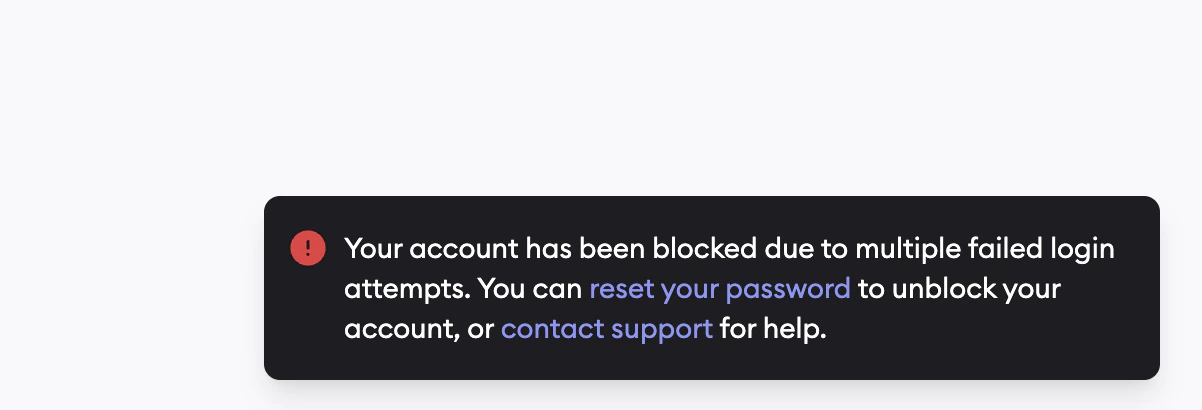
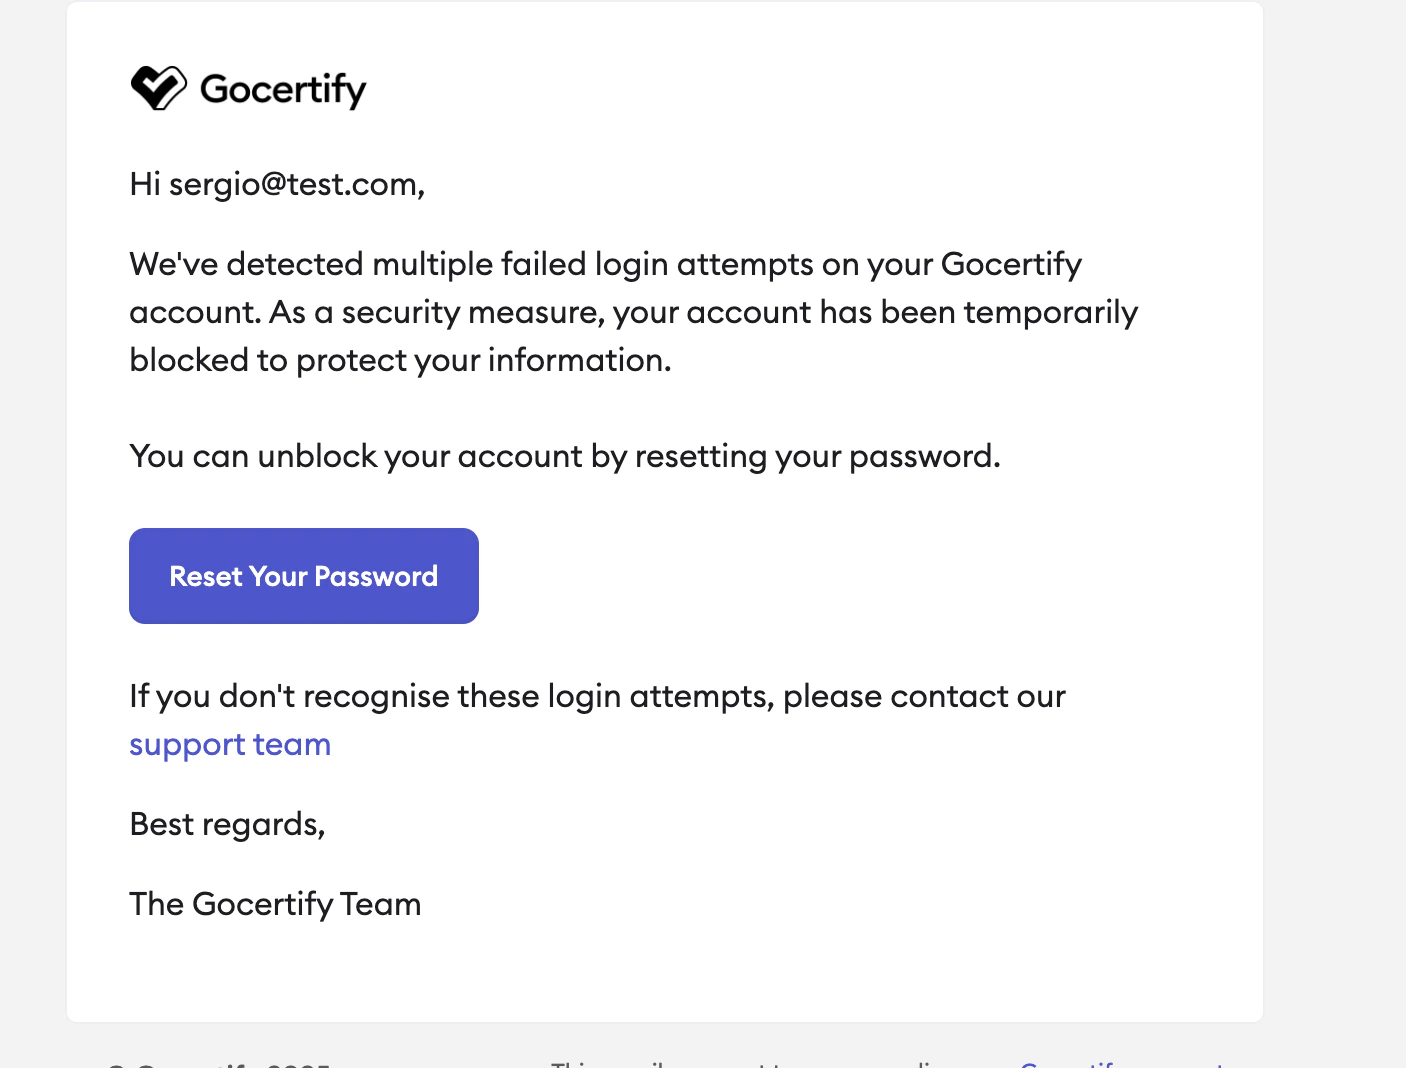
Click 'Reset your password'
Click the reset password link in the login error message or the “Reset Your Password” button in the email you received.
Complete the password reset flow
Follow the standard password reset steps: enter your email, check for the reset email, and set a new password.
Linking SSO and Password Accounts
Linking SSO and Password Accounts
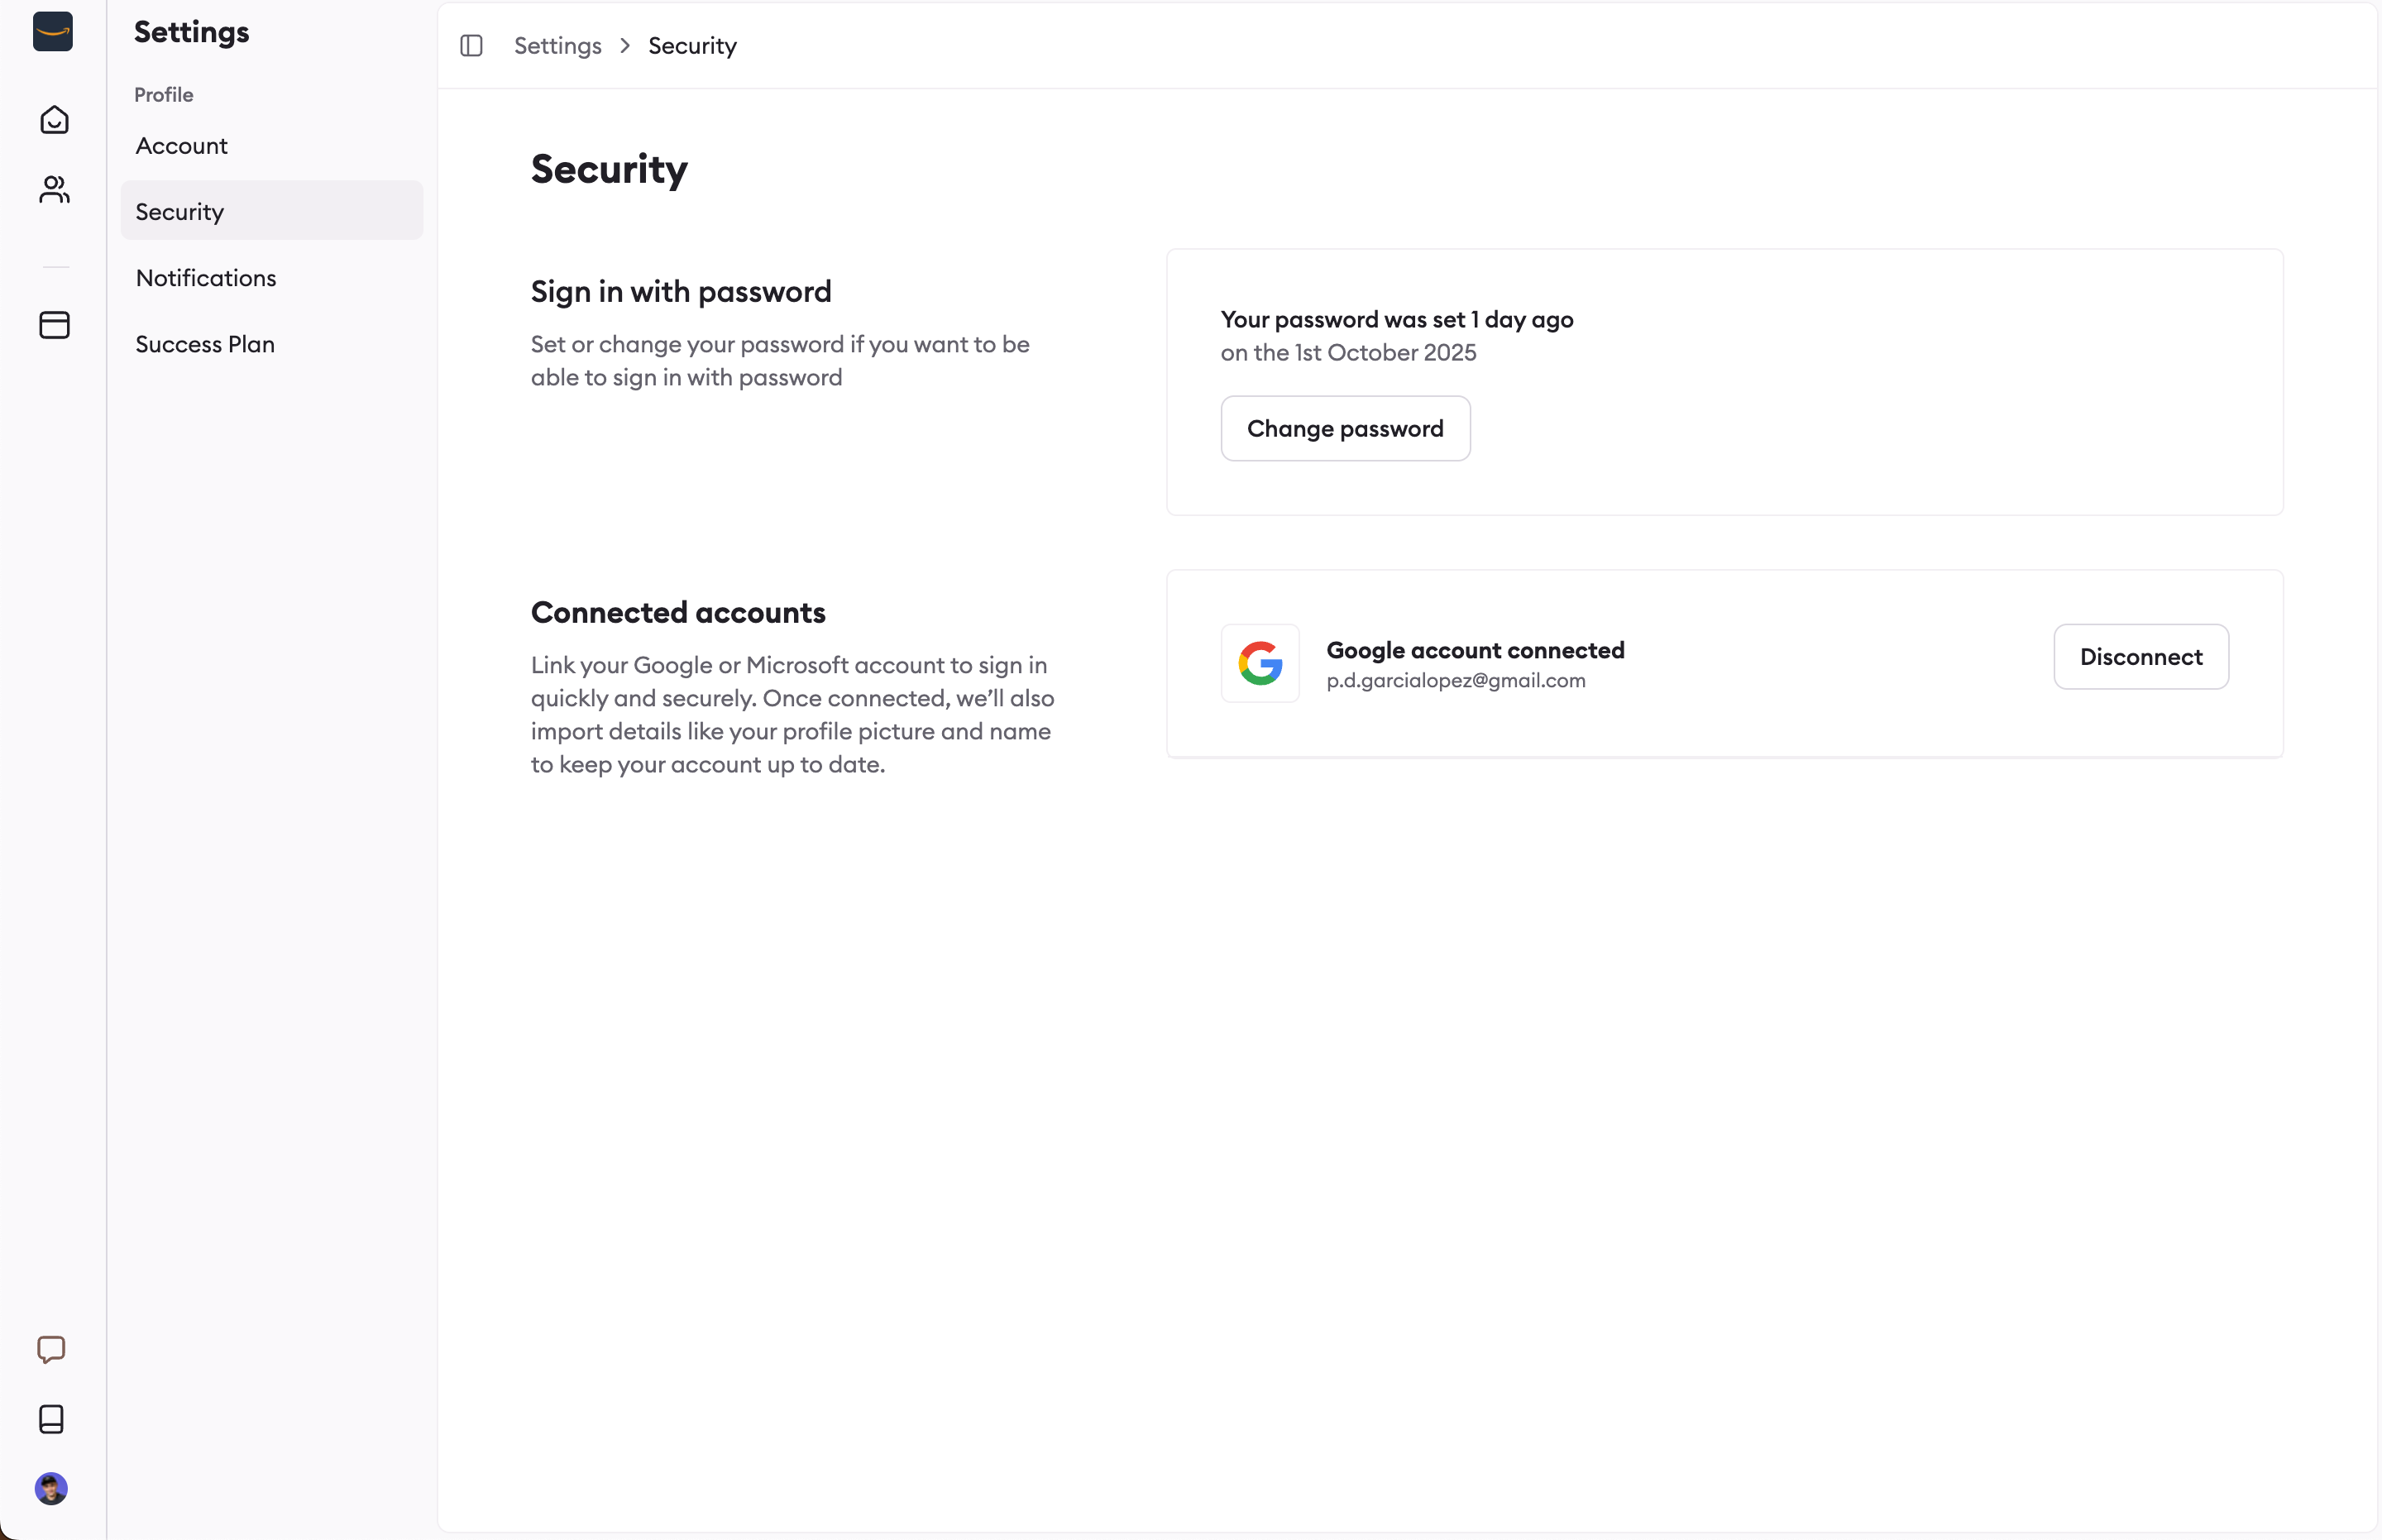
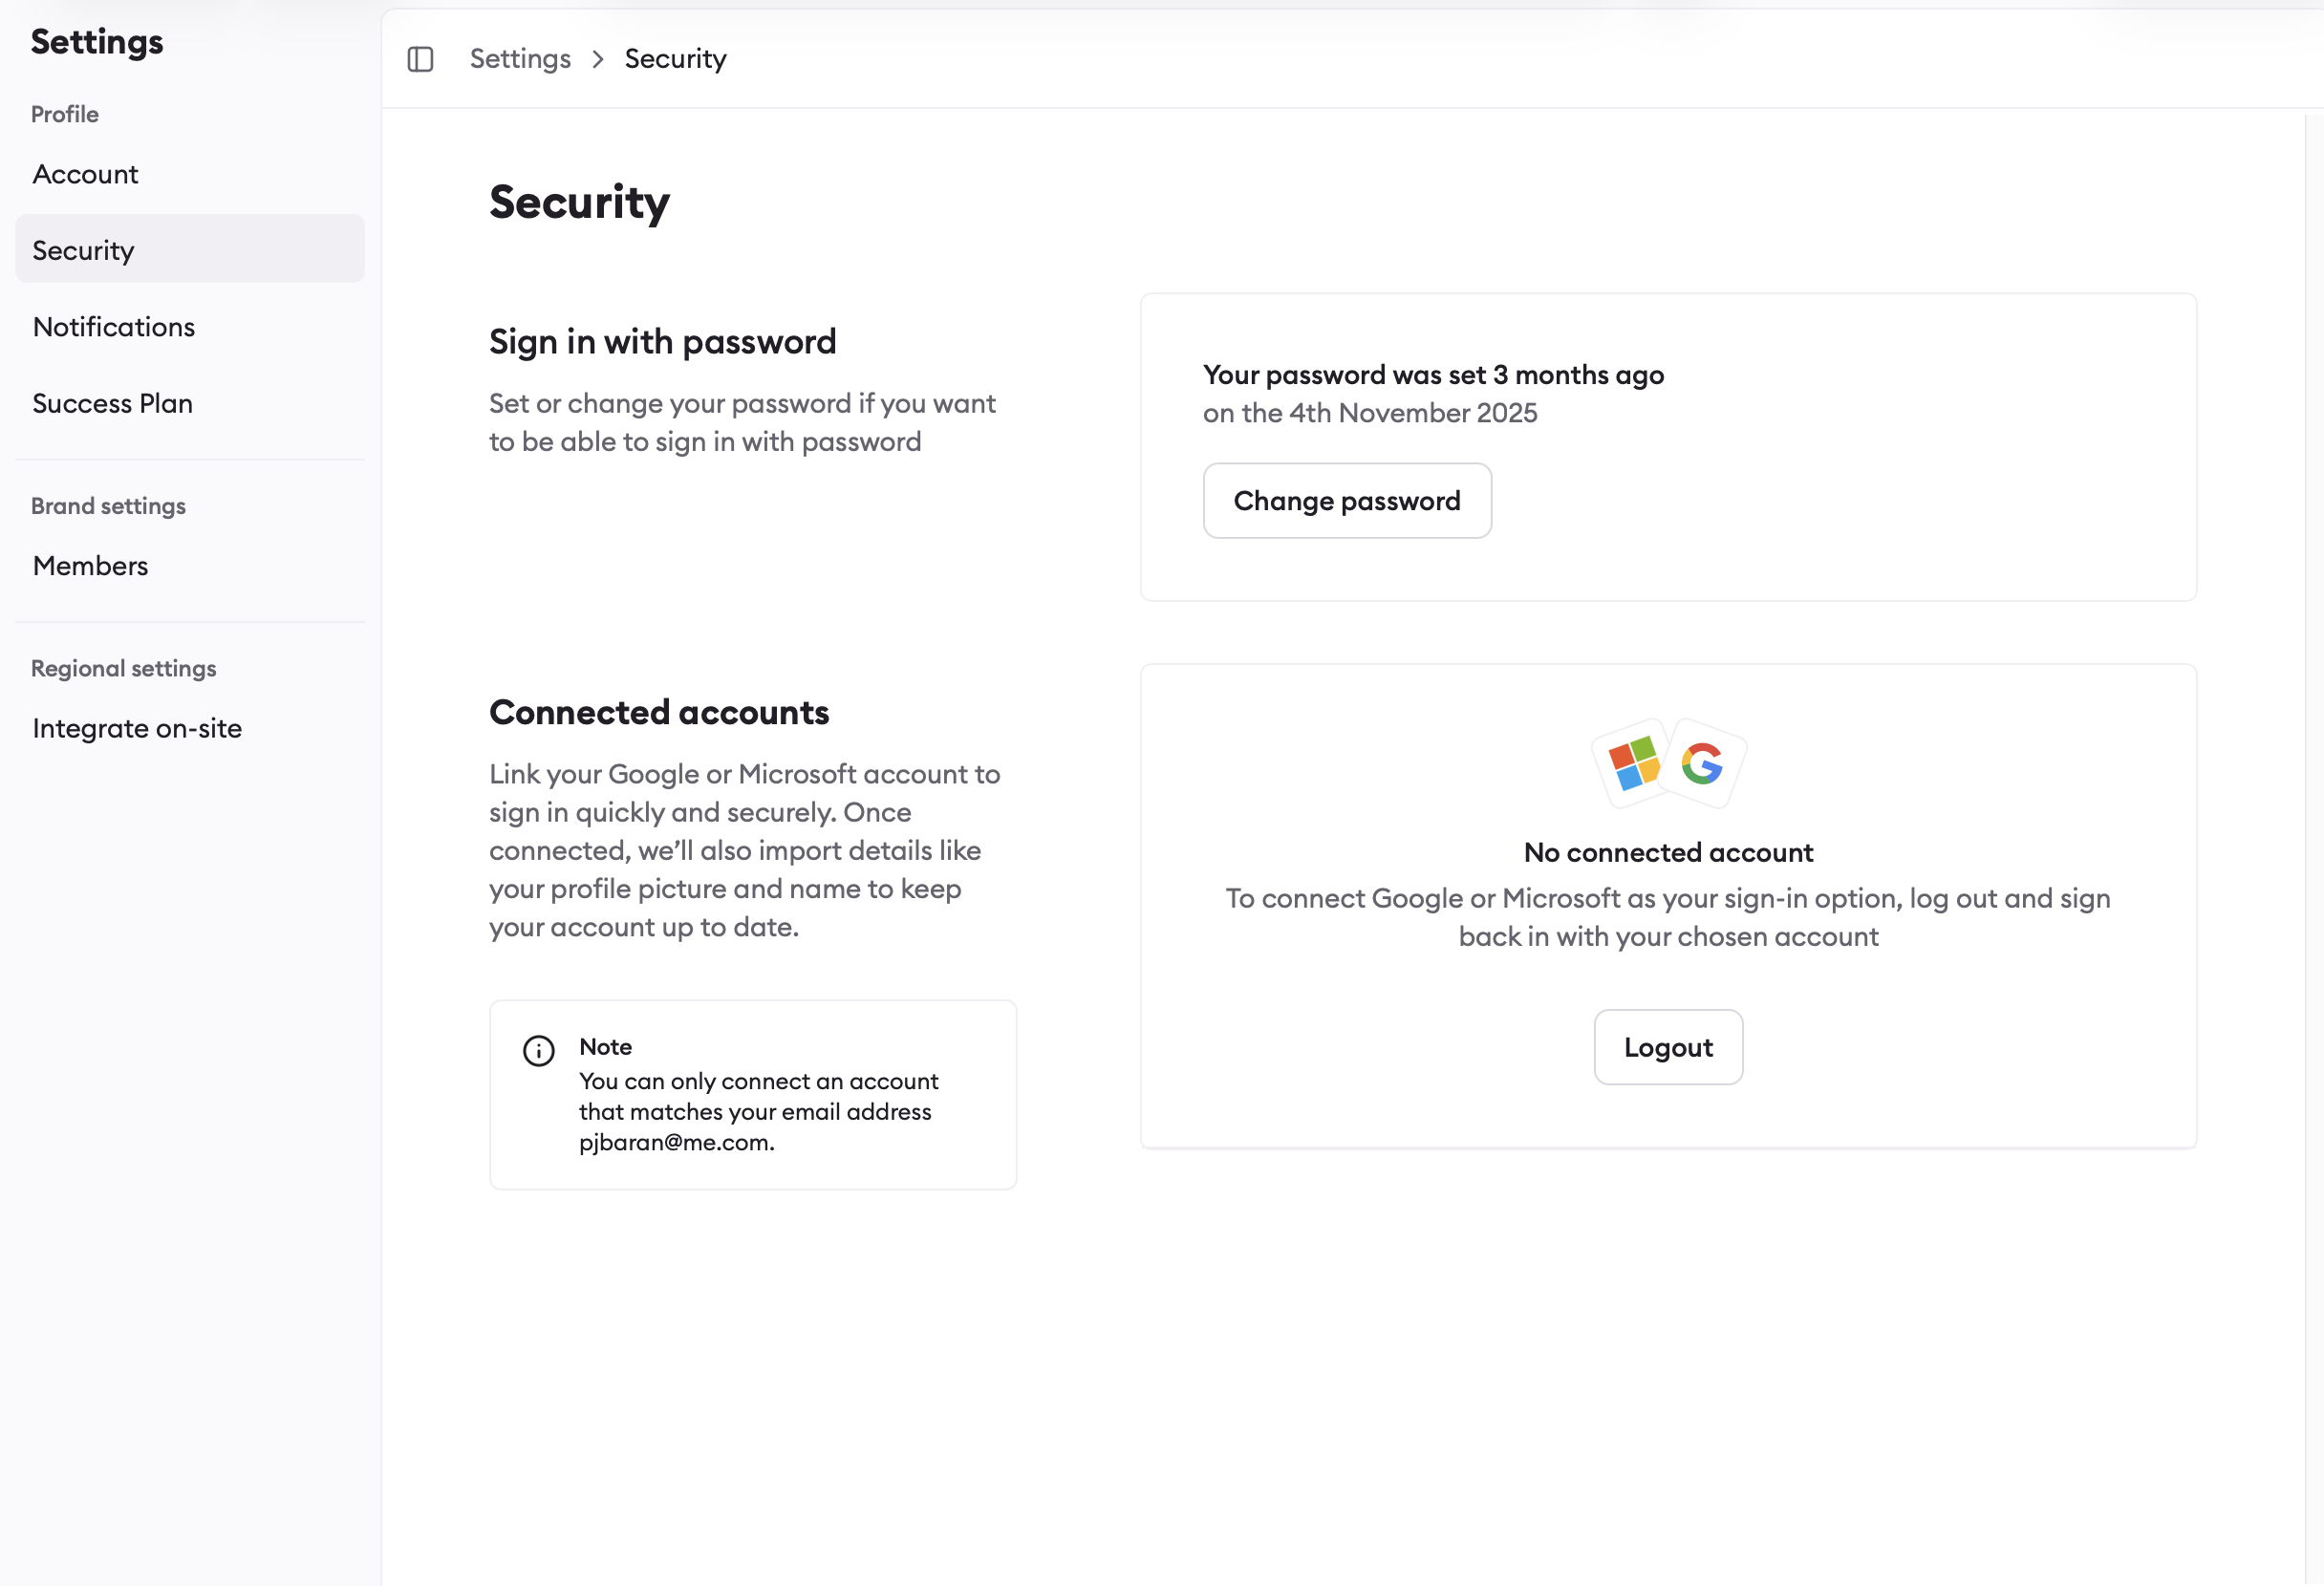
If you have previously logged in with email/password, but now want to login with SSO, you can link your accounts by simply using SSO to login with the same email.There is also a path for doing this via profile settings:
Link your accounts
Under the “Connected accounts” section it will say “No connected account” and prompt you to logout and then login with SSO.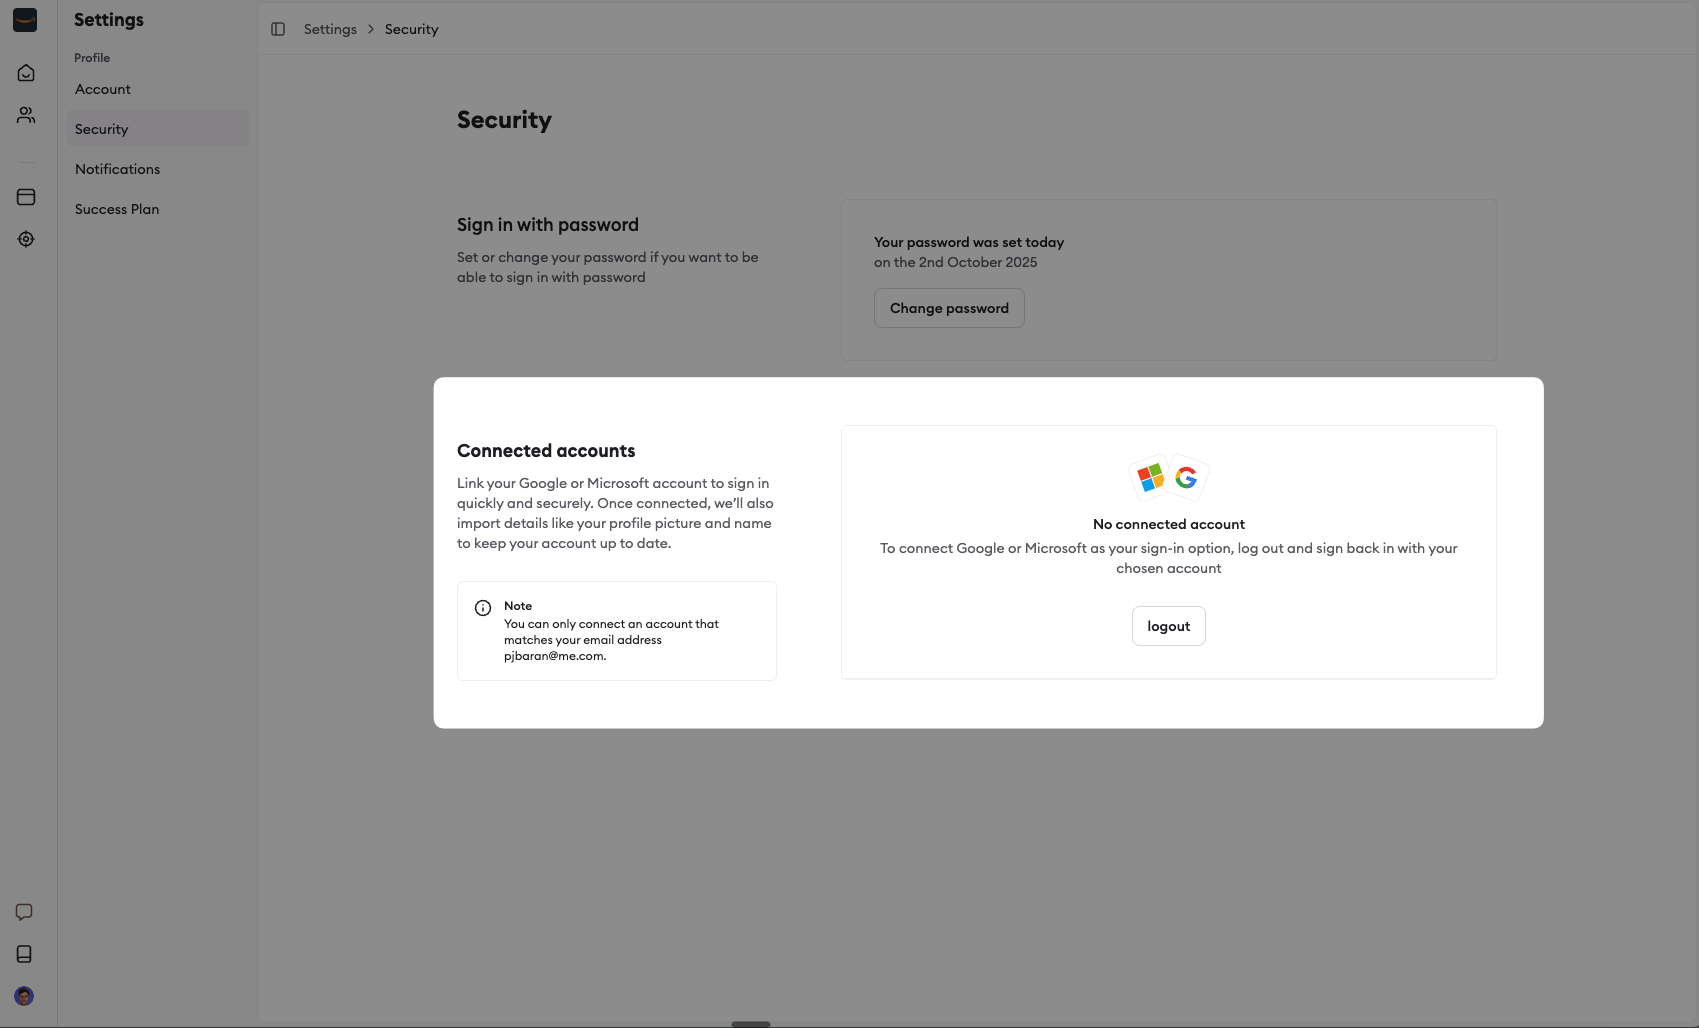
Logging Out
Logging Out
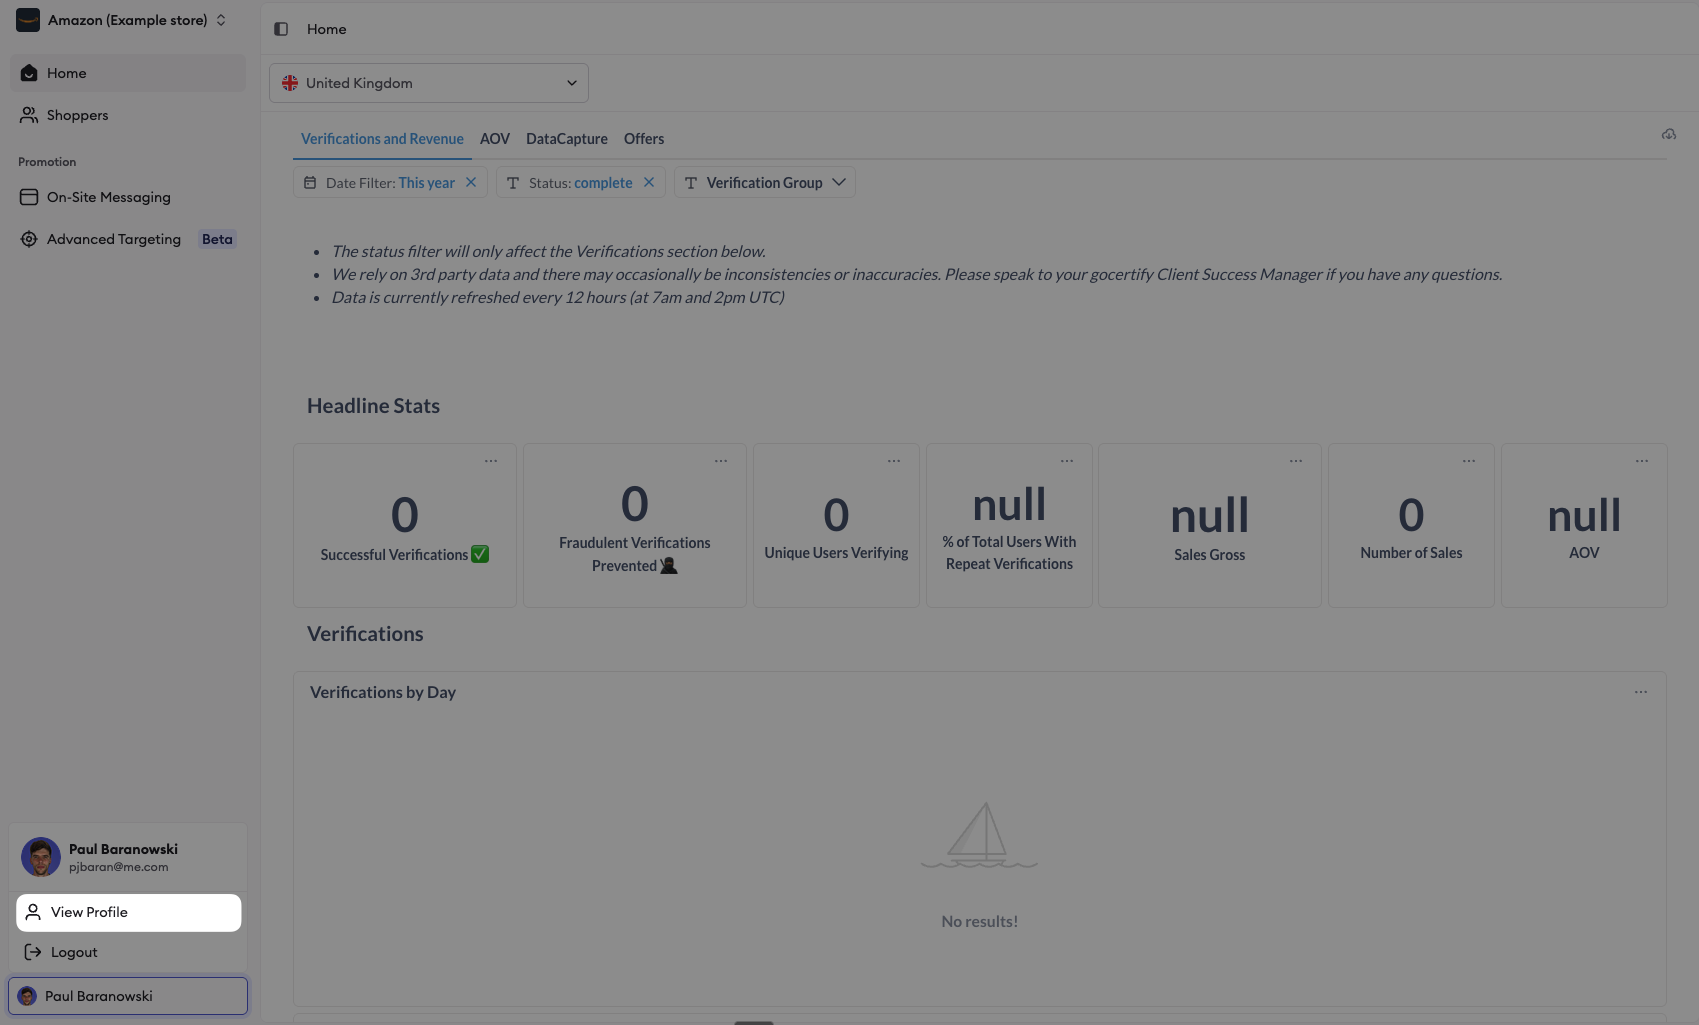
To logout, click your profile card and select “Logout”.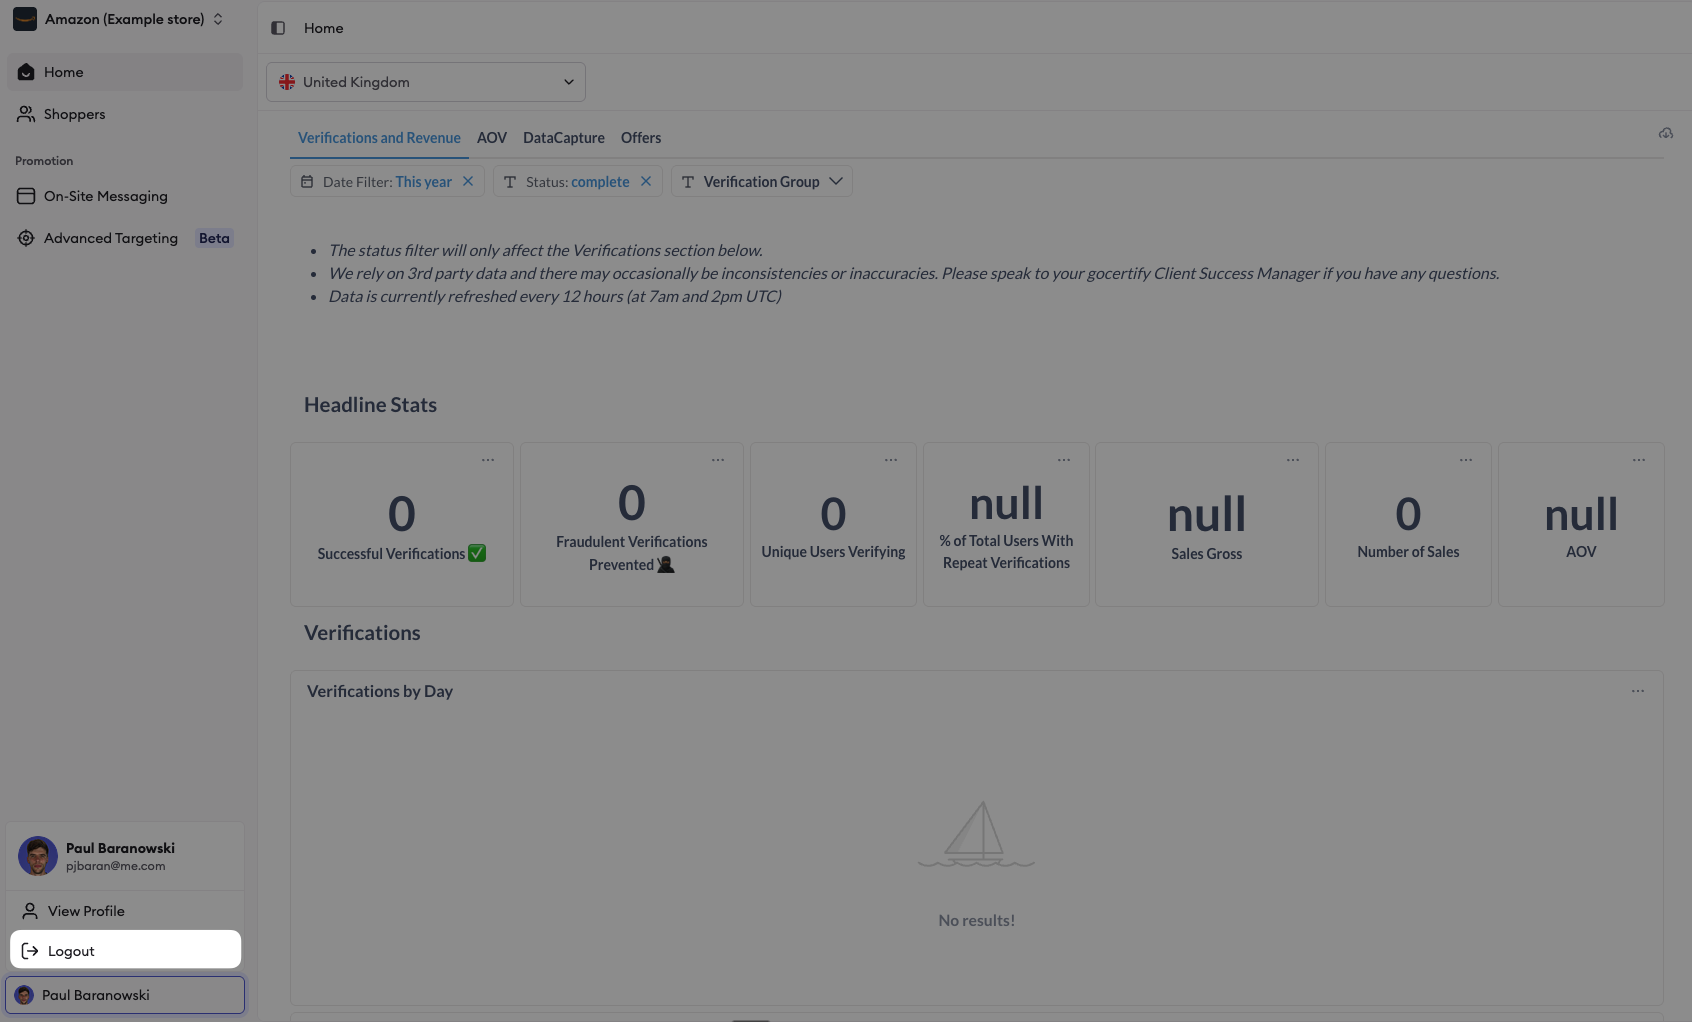
Managing Preferences
Managing Preferences
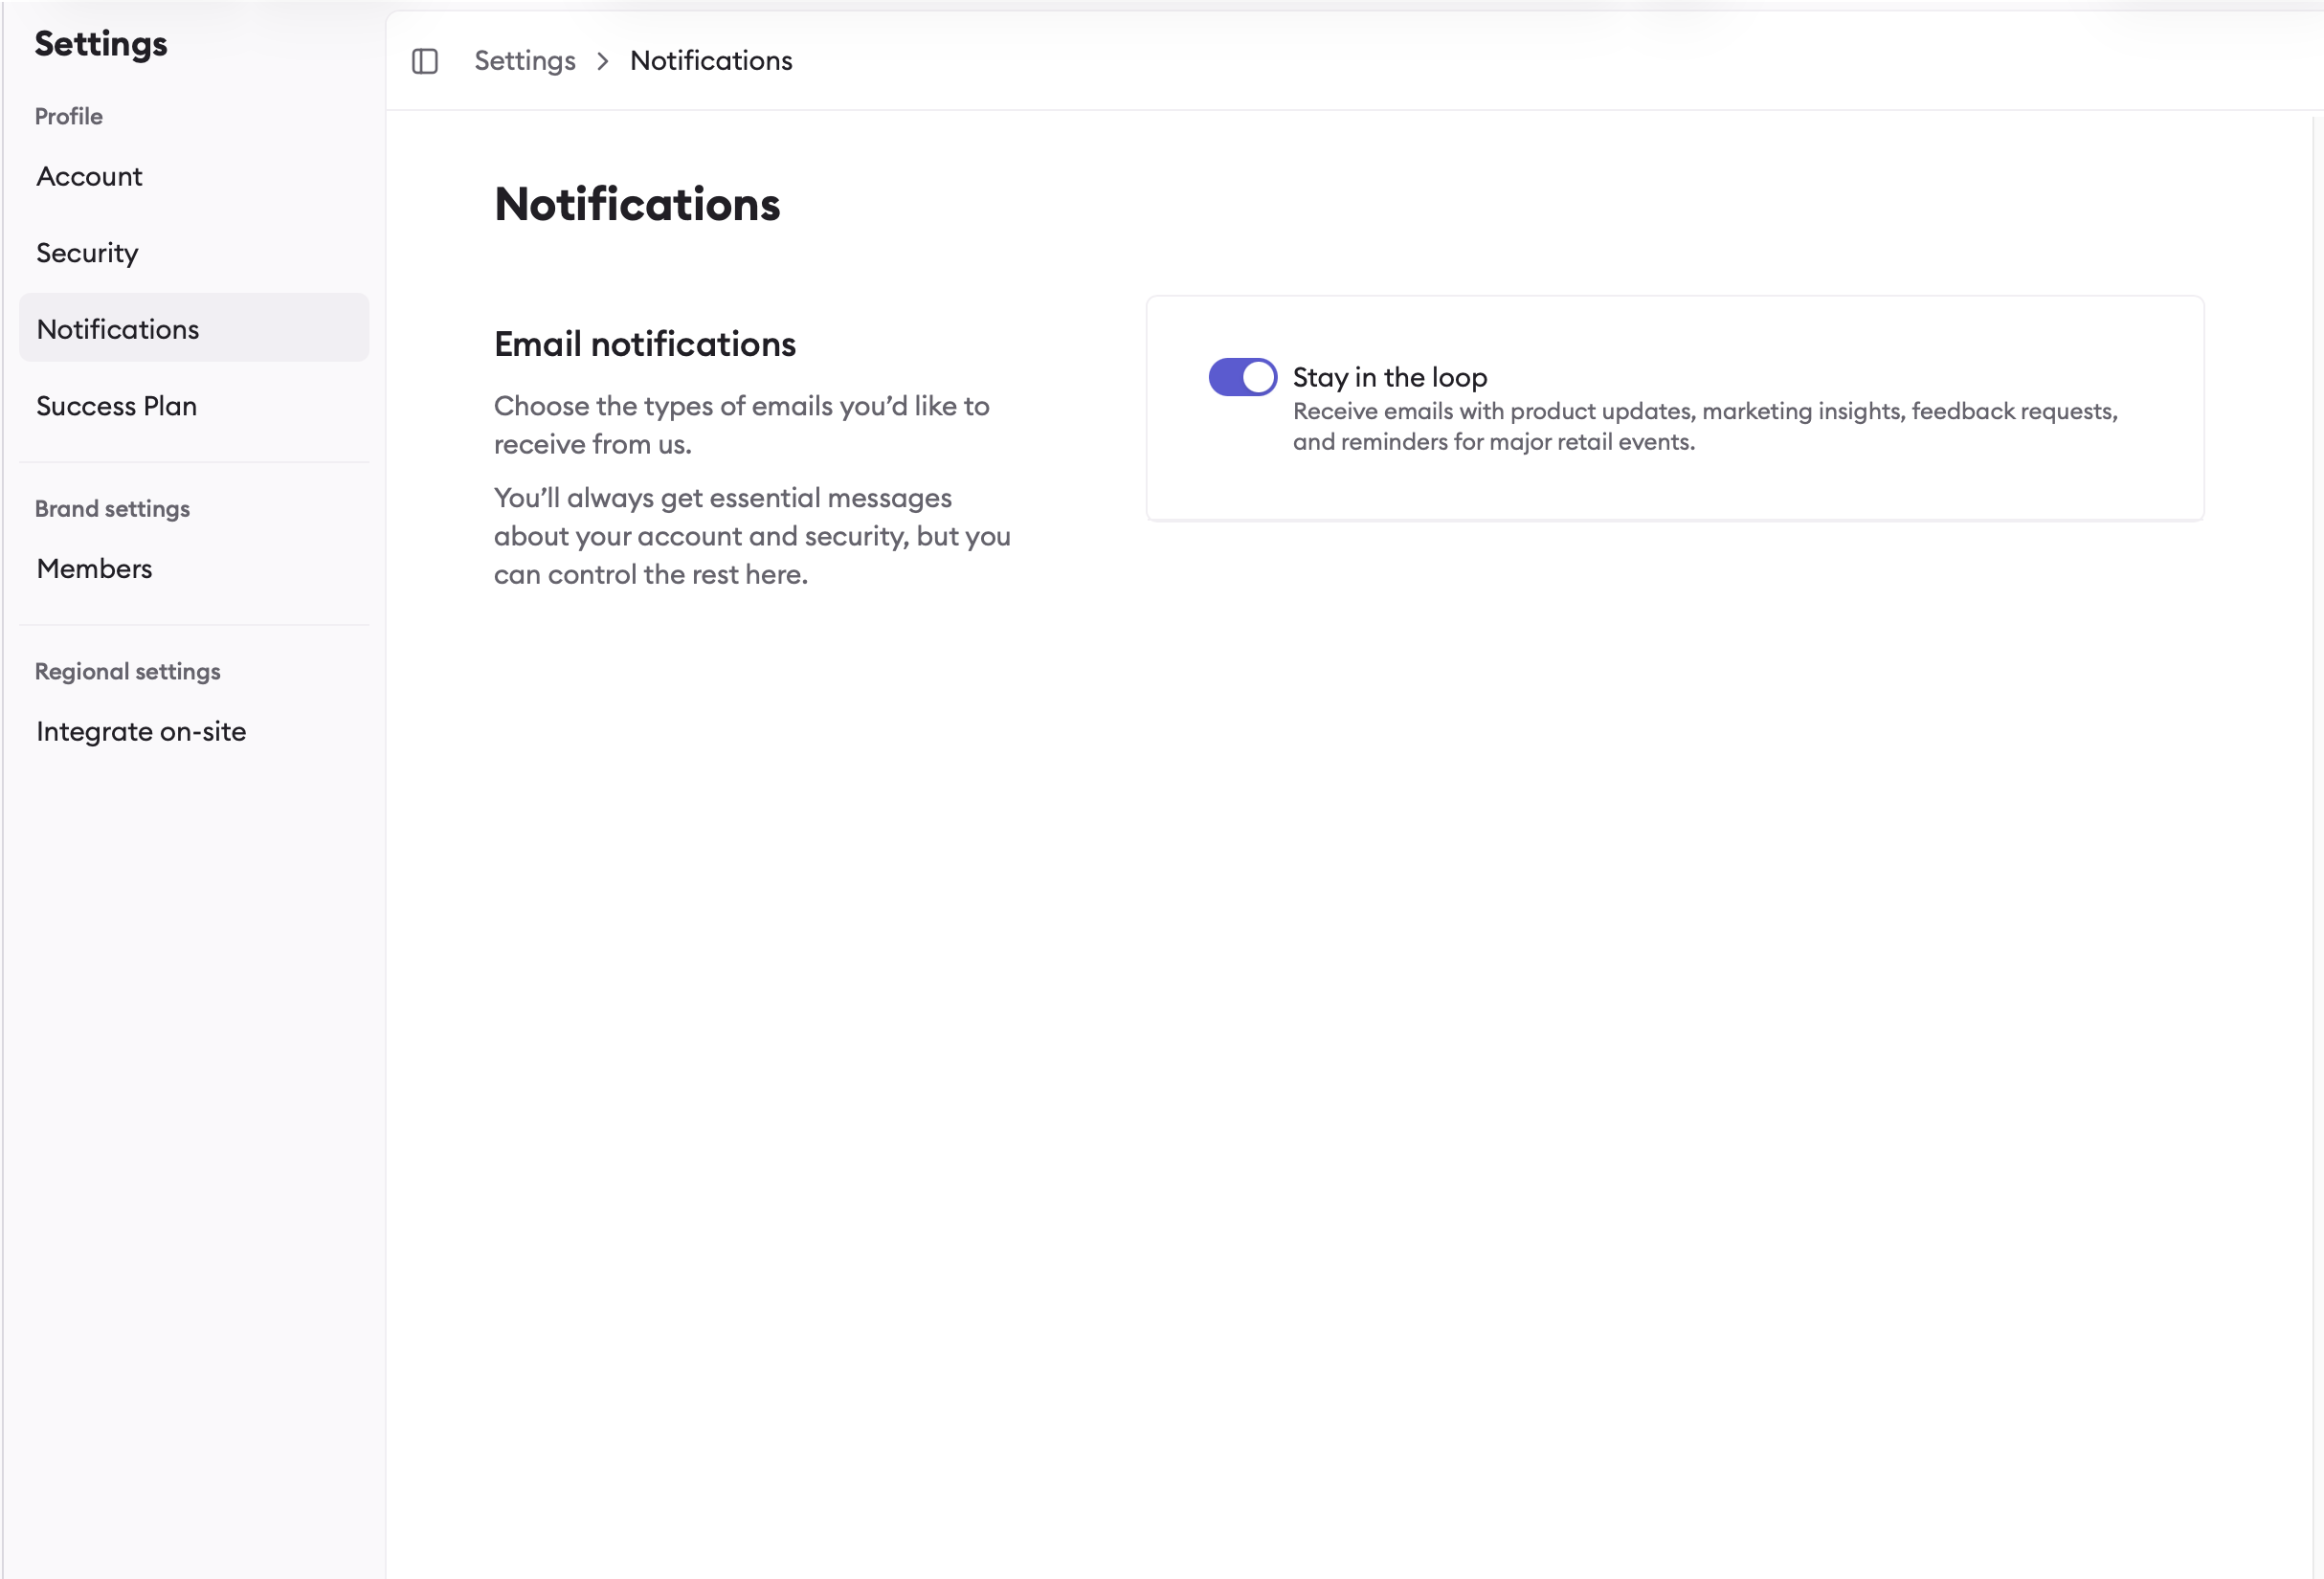
You can update your profile and preferences at any time by clicking your profile card and selecting “View Profile”. From there you can access several settings pages:Account — Update your name, profile picture, and department. You can also control whether Gocertify collects usage data to improve your experience.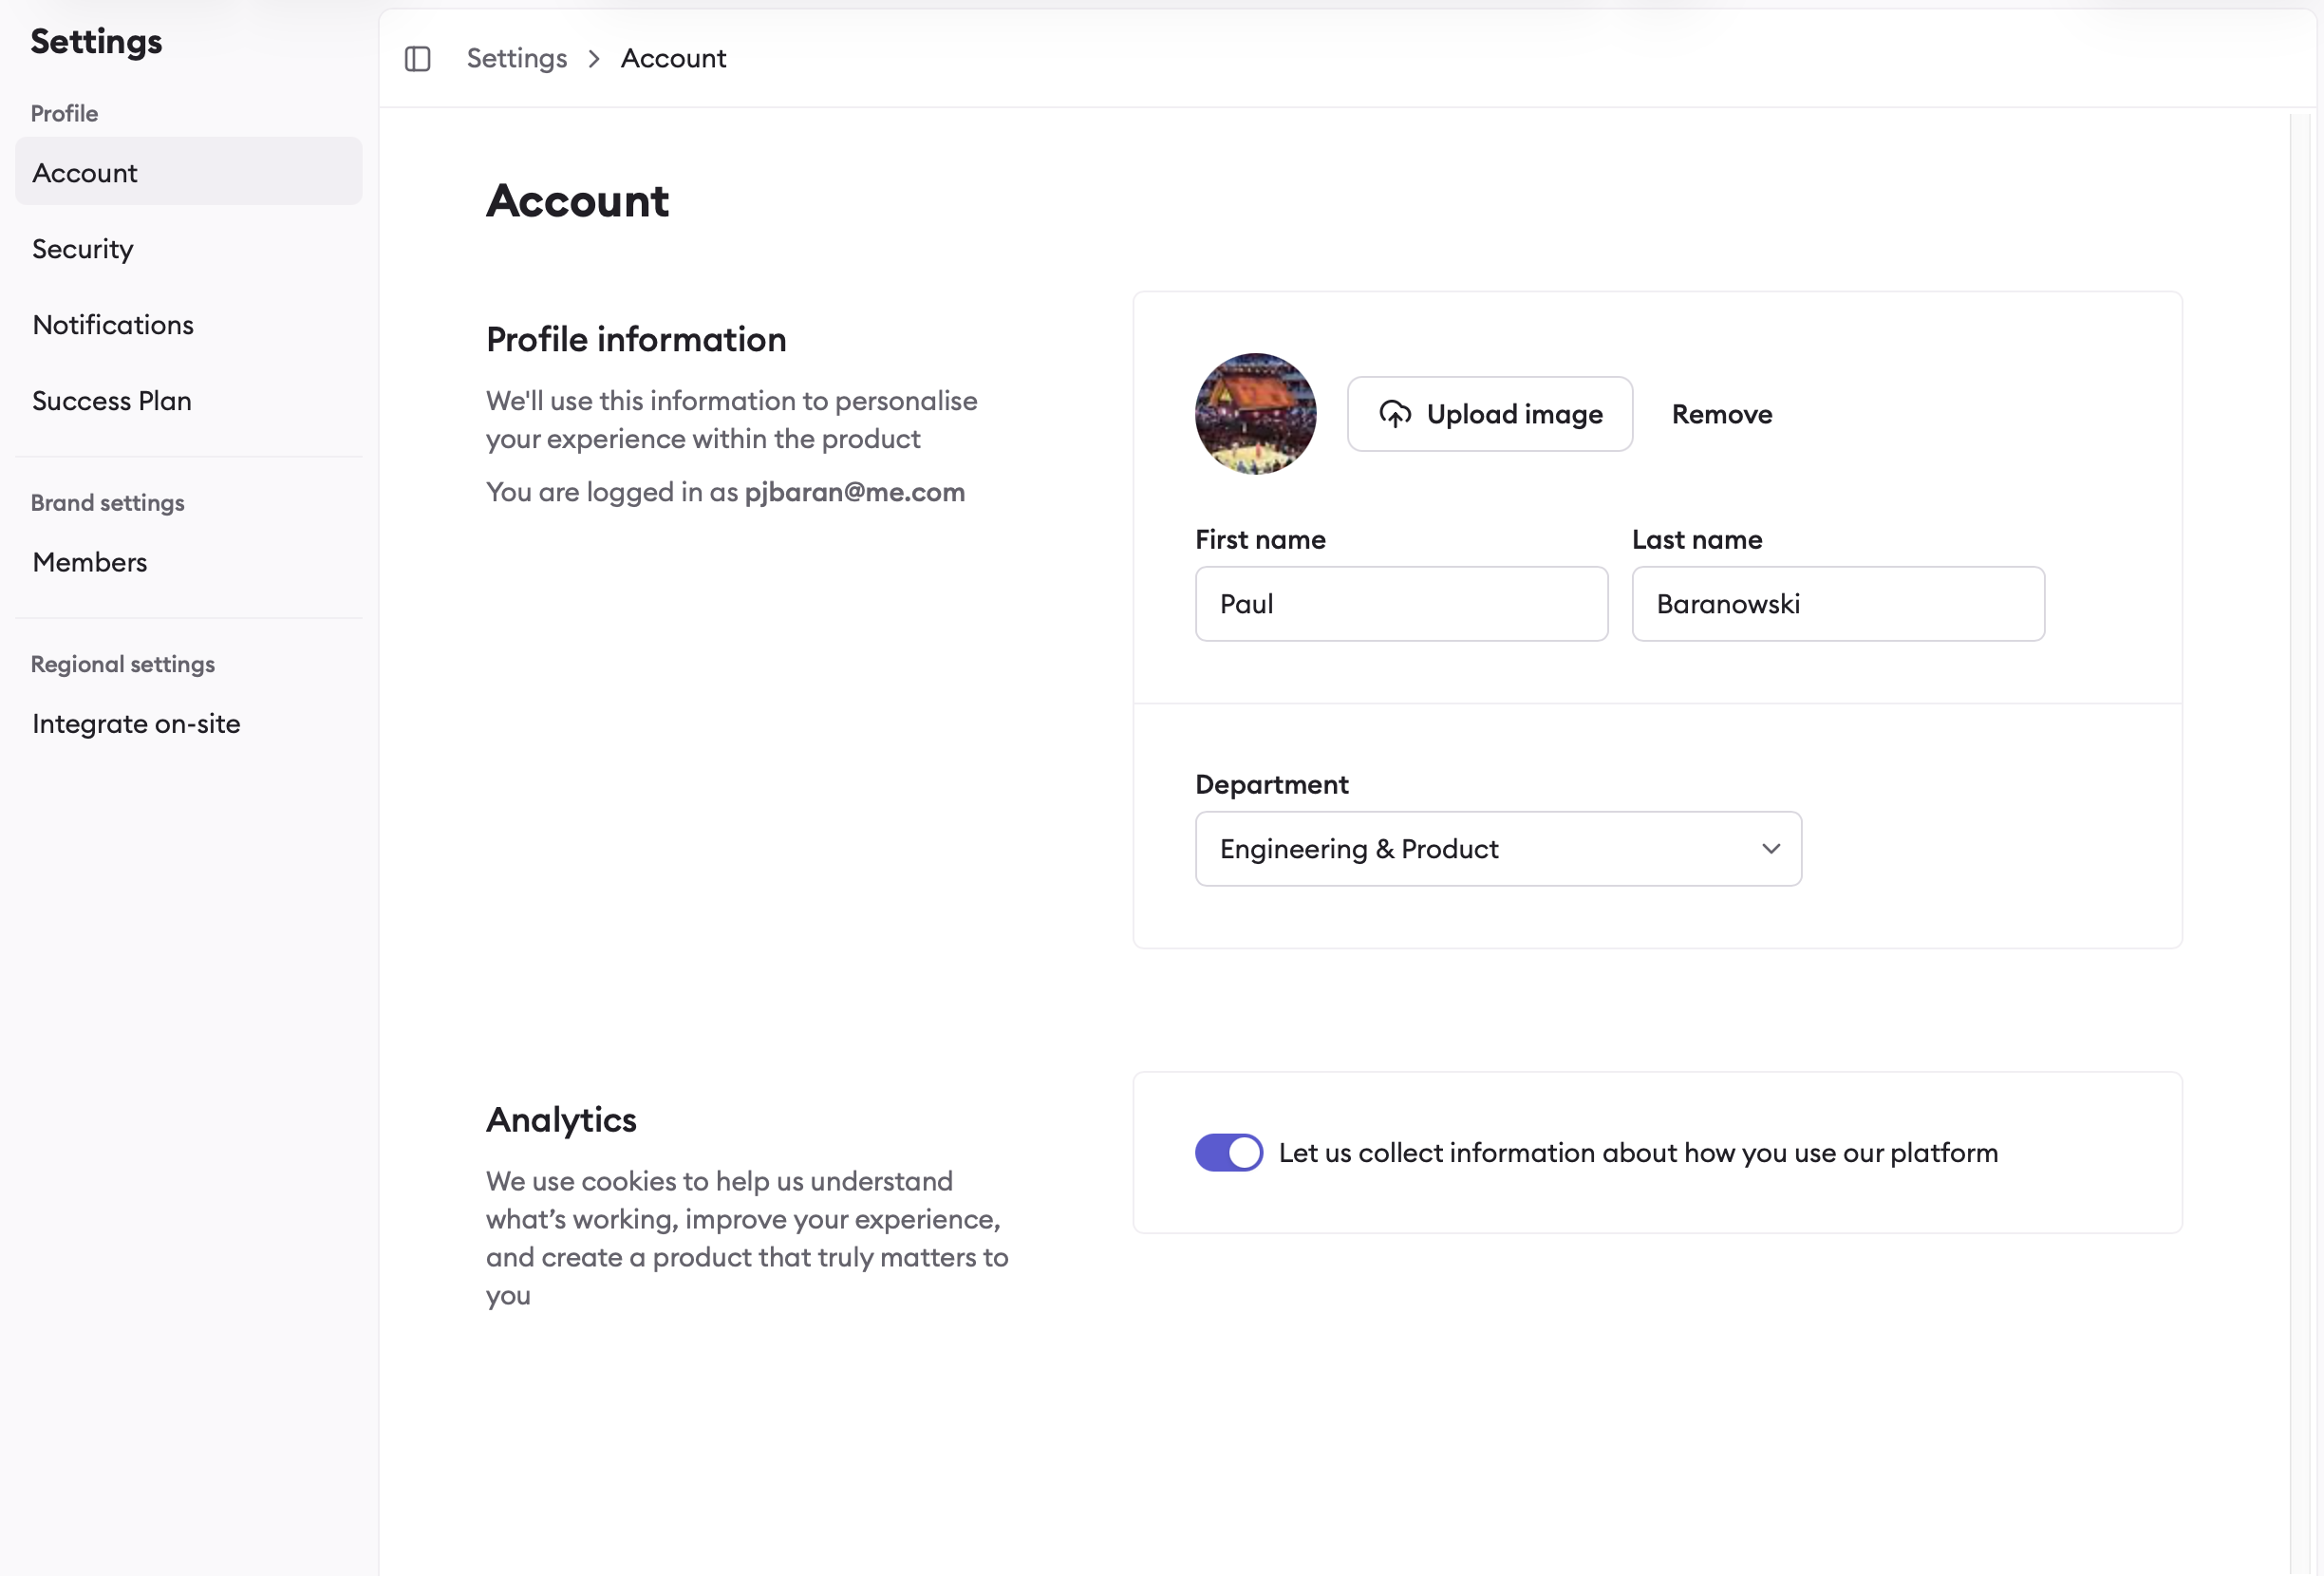
Brand Groups and Brand Regions
If your brand operates in multiple countries or markets, you can view and manage data across all your regions from a single dashboard. The region selector appears in the sidebar when you have access to multiple regions.
Team Management
You can invite team members to your account by navigating to the “Members” section in the sidebar menu. Select “Invite Member” and enter the email address of the team member you want to invite. They will receive an email with a link to join your account.
| Role | Permissions |
|---|---|
| Brand Admin | Everything in Region Admin, plus: manage settings across all available regions. Brand admins always have access to all regions. |
| Region Admin | Everything in Creator, plus: manage settings in assigned regions, manage team members, manage alerts. |
| Creator | Everything in Viewer, plus: view shoppers & export contacts, view and manage placements (OSM), view and manage targets. |
| Viewer | View reporting. |
Allowed Emails for Testing
Need to test the verification flow with your team? You can request specific email addresses to be pre-approved for your brand. When someone verifies using an allowed email address, they’ll bypass the standard verification process and be automatically verified. This is useful for:- Team members testing the shopper verification experience
- Partners who need to demo the verification flow
- QA testing before campaign launches