> ## Documentation Index
> Fetch the complete documentation index at: https://docs.gocertify.me/llms.txt
> Use this file to discover all available pages before exploring further.
# Ometria
> Start building loyal communities with targeted, gated offers.
Once the user submits their email and/or mobile number, Gocertify will send this data to the customer's Ometria account, and will create a Customer, subscribed to Email and/or SMS (according to the setup with gocertify).
After that screen, when the user successfully verifies as a target group (student, healthcare, senior, etc) a “Custom Event” (named “gocertify”) will be triggered, including the details of the verification.
With this data, you will be able to generate segments based on these events.
**See also:** [Ometria's Gocertify launch guide +](https://support.ometria.com/hc/en-gb/articles/15582974493853-Setting-up-a-gocertify-integration)
## Requirements to go live
To set up Ometria you will need to share your Ometria API key with the Gocertify team.
Log into your Ometria account and in the top right corner, click on your account name and then “Settings”.
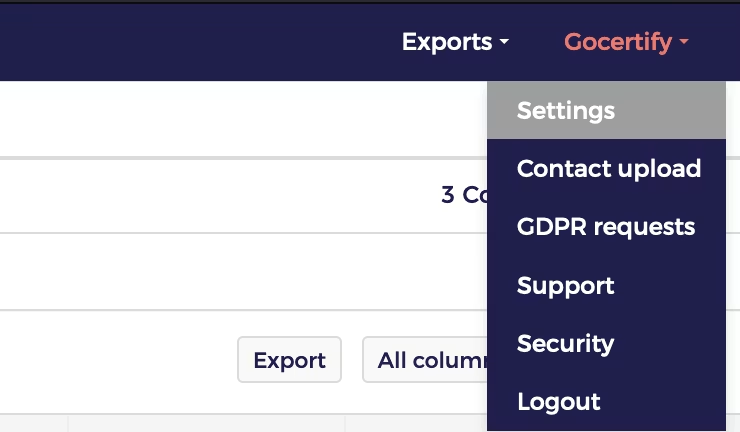 In the navigation menu, click on “API keys” and then “Add new API key”.
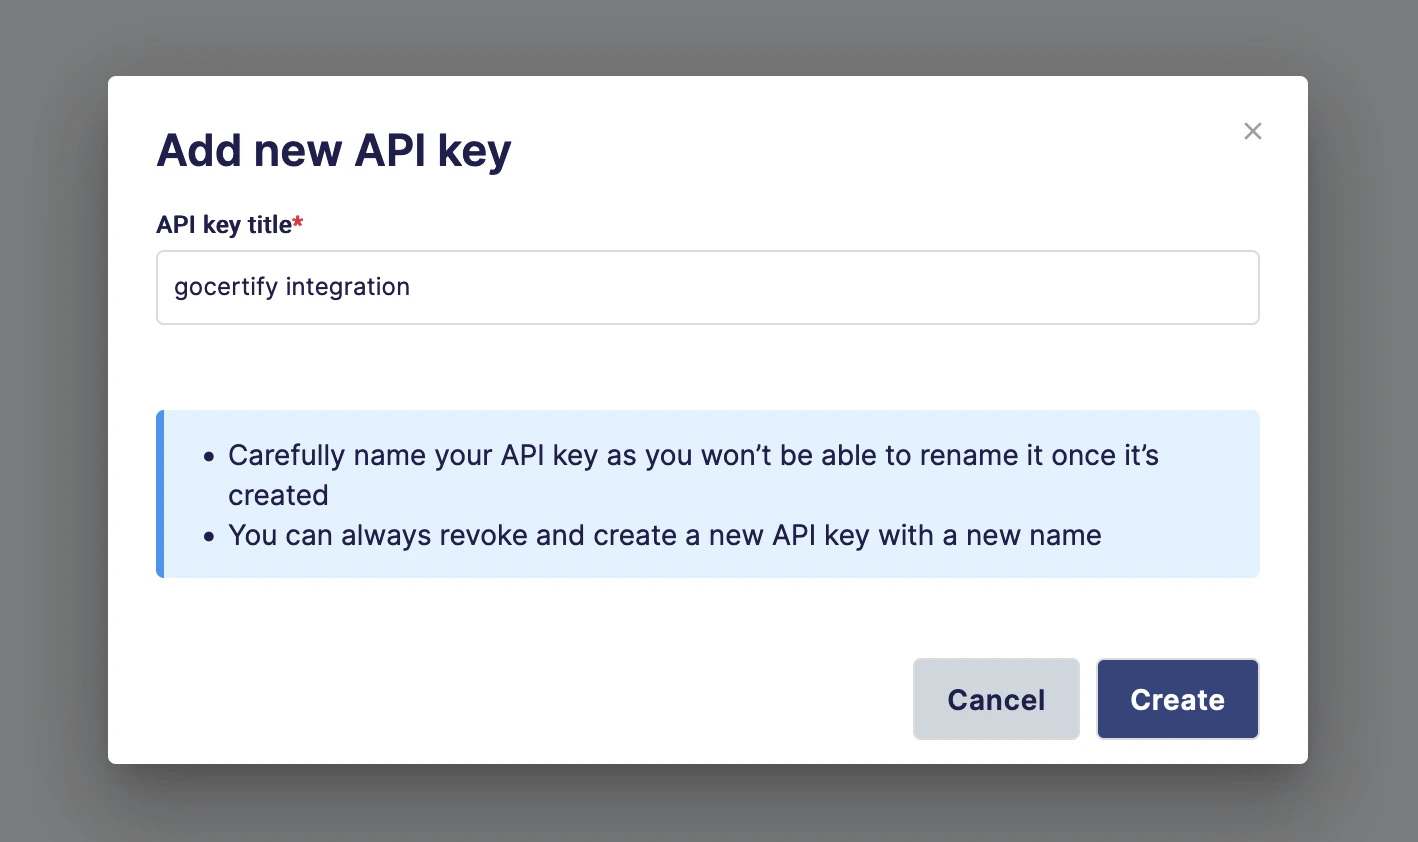
 Add a name for this new API key, we recommend using “gocertify” or “gocertify integration”
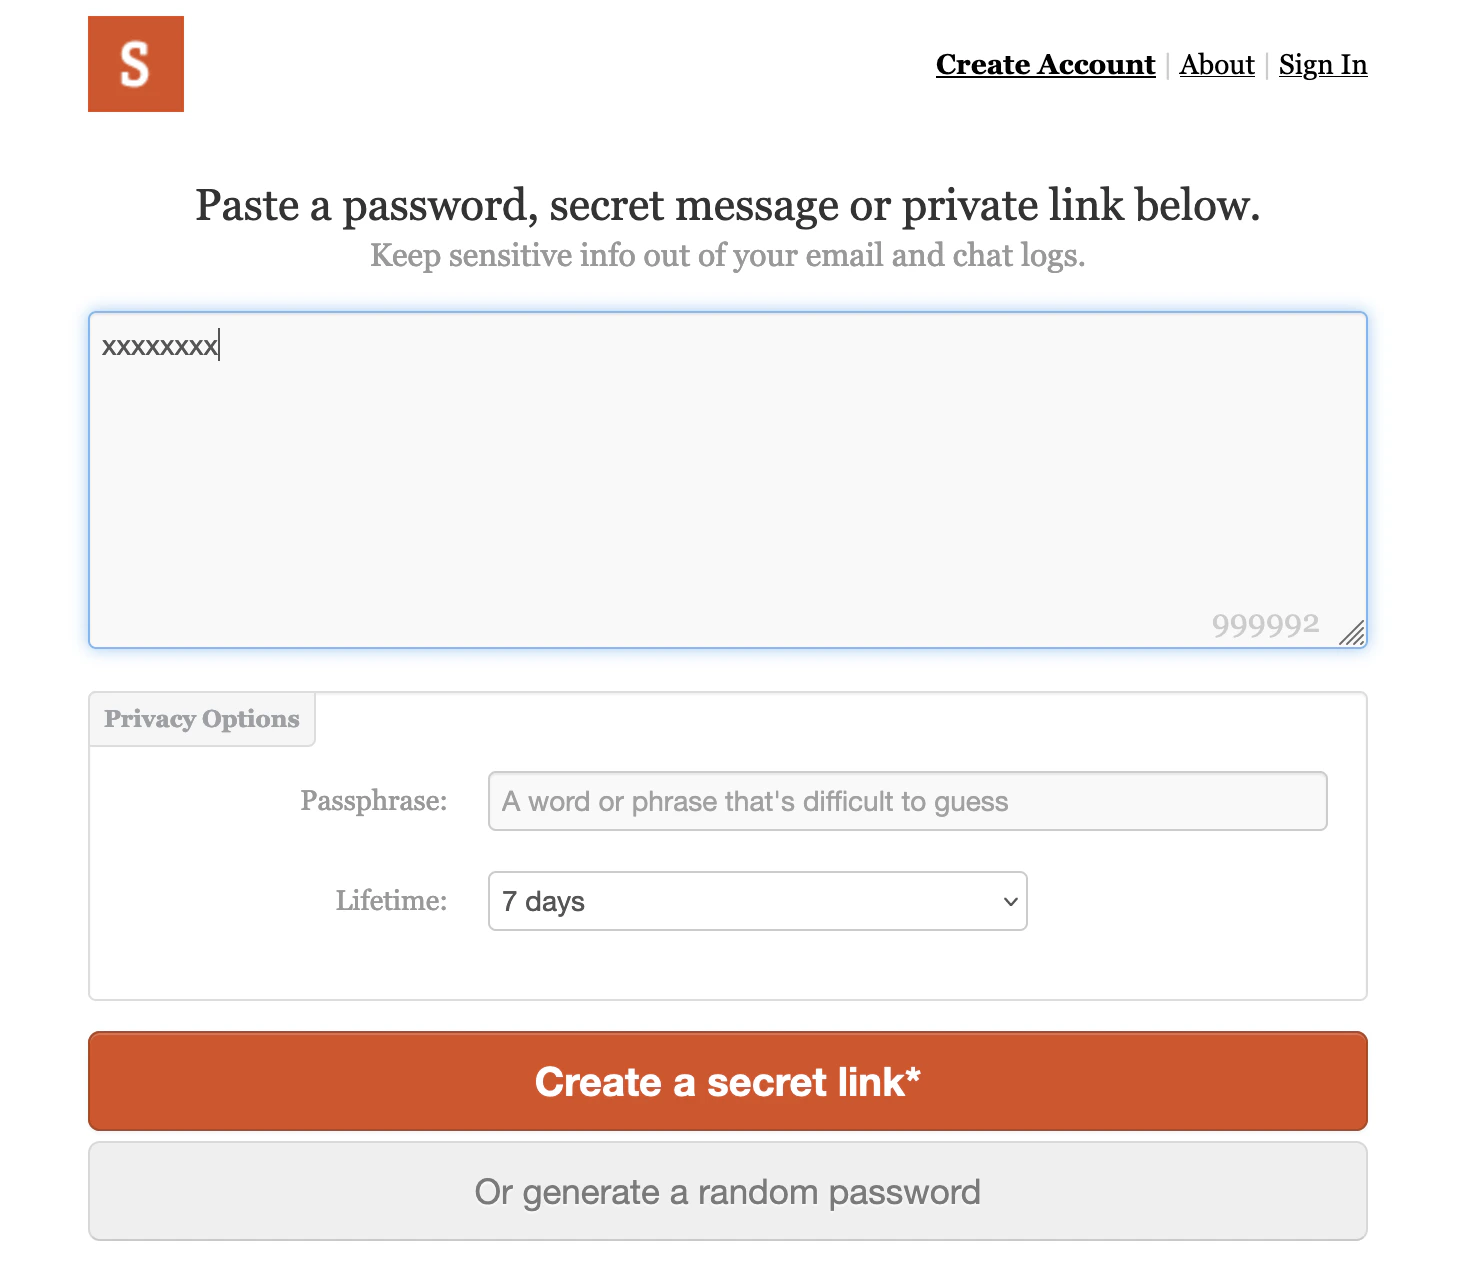
 Go to onetimesecret.com and paste the new generated API key there. Even if it's not required, we encourage you to also add a random “Passphrase”. This will generate a secret link that will expire within 7 days and will be visible only once.
Share this link with your Customer Success Manager, and we will enable your integration.
Go to onetimesecret.com and paste the new generated API key there. Even if it's not required, we encourage you to also add a random “Passphrase”. This will generate a secret link that will expire within 7 days and will be visible only once.
Share this link with your Customer Success Manager, and we will enable your integration.
 ## How data will appear in Ometria
Before you are able to see this information in your Ometria account, you will need to ask your Customer Success (at Ometria) to setup this Custom Event. Note that this can take up to 1 week.
Once set up, the data will appear in your Ometria account as a Custom Event, with the name “gocertify”:
```JSON Example of a Gocertify event in Ometria theme={null}
[{
"@type": "custom_event",
event_type: "gocertify",
id: "gcme-ABCD1234",
timestamp: Time.now.iso8601,
identity_email: "gustavo@gocertify.me",
properties: {
type: "Code", // ← it could be "Code" or "Deal"
group_type: "Occupation", // ← might not be present
group_parent: "Key Worker", // ← might not be present
group_child: "NHS Worker", // ← might not be present
coupon_code: "EXAMPLECODE", // ← might not be present if it's a "Deal" type.
token: "ABCD1234" // ← our internal randomly generated identifier
brand_slug: "amazon", // ← the identifier of the customer
campaign_id: 1234, // ← the gocertify's campaign's identifier
campaign_title: "20% OFF for Key Workers", // ← the title of the campaign
campaign_url: "https://secure.gocertify.me/at/amazon", // ← the url of our campaign
iframe_parent_url: "https://www.customer-website/keyworkers", // ← might not be present
date: Time.now.iso8601 // ← the current date, in iso8601 format.
}
}]
```
## How to create segments in Ometria
Once the Ometria team has enabled our Custom Event in your account, you will be able to create specific segments.
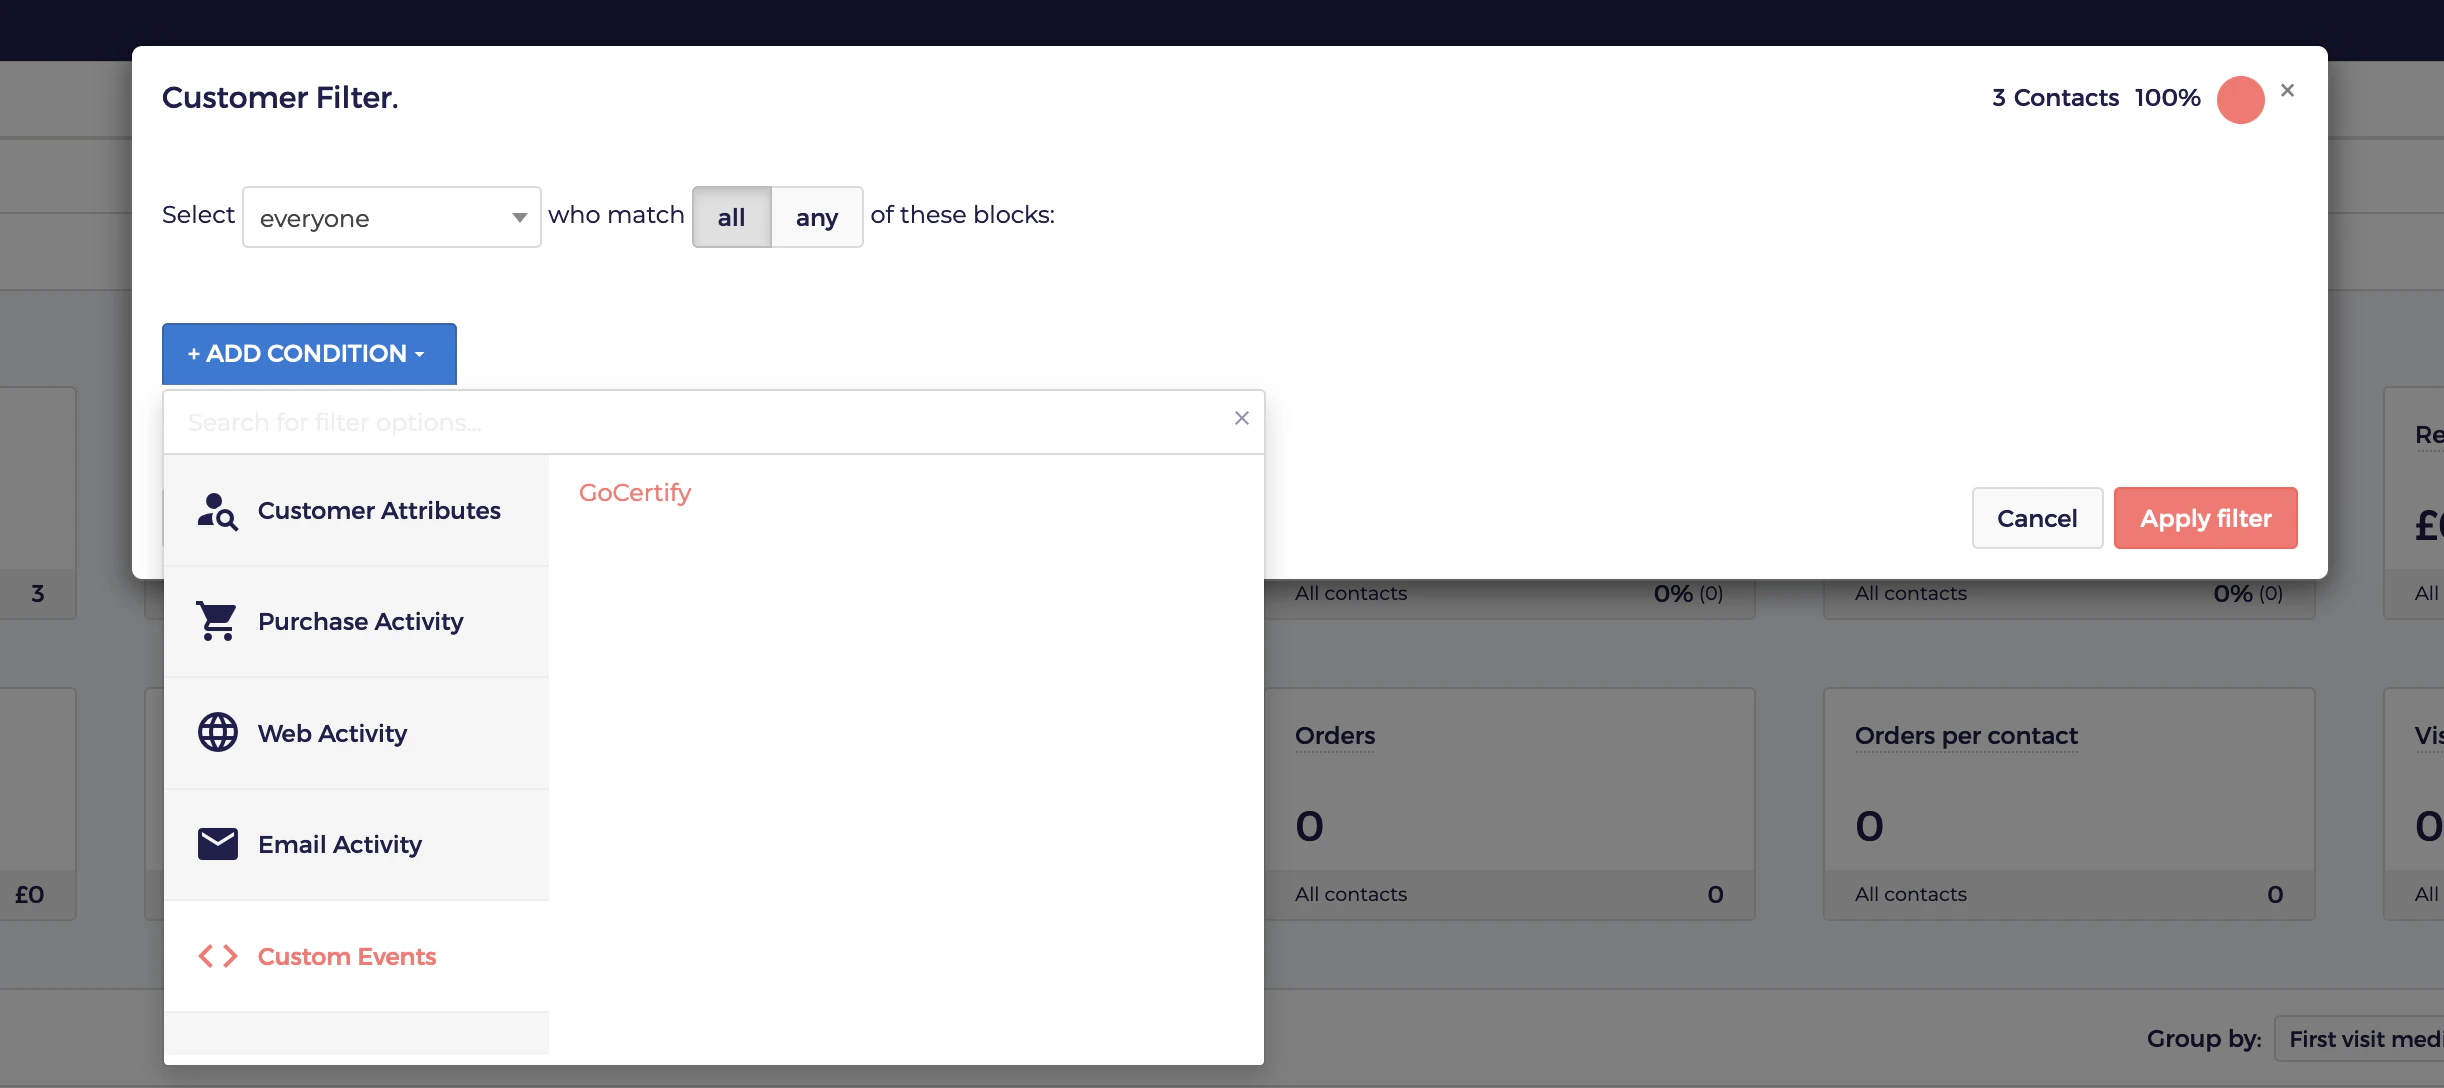
Go to the Segment Explorer menu and then click on “Filter customers”. Now, click on “+ Add Condition”, browse to the end of the list and select “Custom Events”, now you should see a “gocertify” item.
Please note that if you don't see this event there, it means your Customer Success at Ometria hasn't enabled the event yet.
## How data will appear in Ometria
Before you are able to see this information in your Ometria account, you will need to ask your Customer Success (at Ometria) to setup this Custom Event. Note that this can take up to 1 week.
Once set up, the data will appear in your Ometria account as a Custom Event, with the name “gocertify”:
```JSON Example of a Gocertify event in Ometria theme={null}
[{
"@type": "custom_event",
event_type: "gocertify",
id: "gcme-ABCD1234",
timestamp: Time.now.iso8601,
identity_email: "gustavo@gocertify.me",
properties: {
type: "Code", // ← it could be "Code" or "Deal"
group_type: "Occupation", // ← might not be present
group_parent: "Key Worker", // ← might not be present
group_child: "NHS Worker", // ← might not be present
coupon_code: "EXAMPLECODE", // ← might not be present if it's a "Deal" type.
token: "ABCD1234" // ← our internal randomly generated identifier
brand_slug: "amazon", // ← the identifier of the customer
campaign_id: 1234, // ← the gocertify's campaign's identifier
campaign_title: "20% OFF for Key Workers", // ← the title of the campaign
campaign_url: "https://secure.gocertify.me/at/amazon", // ← the url of our campaign
iframe_parent_url: "https://www.customer-website/keyworkers", // ← might not be present
date: Time.now.iso8601 // ← the current date, in iso8601 format.
}
}]
```
## How to create segments in Ometria
Once the Ometria team has enabled our Custom Event in your account, you will be able to create specific segments.
Go to the Segment Explorer menu and then click on “Filter customers”. Now, click on “+ Add Condition”, browse to the end of the list and select “Custom Events”, now you should see a “gocertify” item.
Please note that if you don't see this event there, it means your Customer Success at Ometria hasn't enabled the event yet.
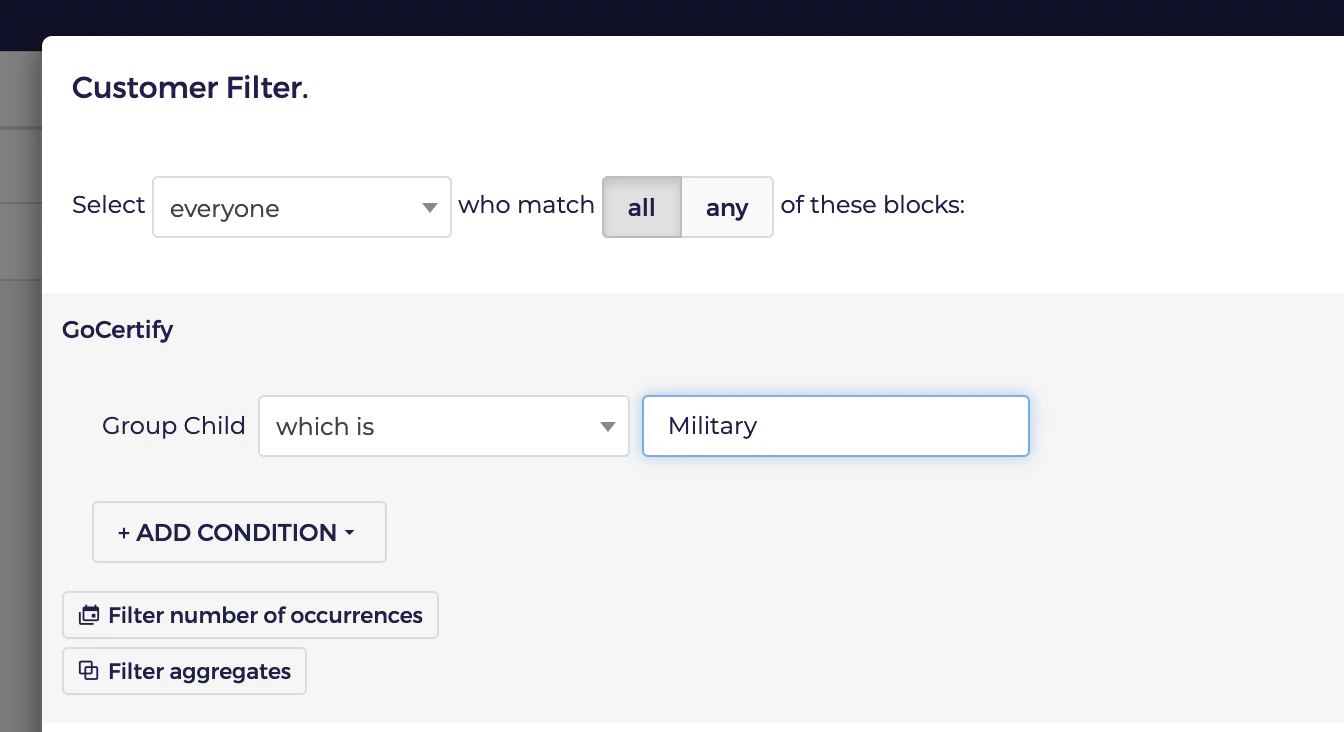
 Once you selected “gocertify”, you will see many different options to create a condition. The simplest one is “Event occurred”. Use this one (that is present) to filter every customer that has been verified or claimed a general offer through gocertify.
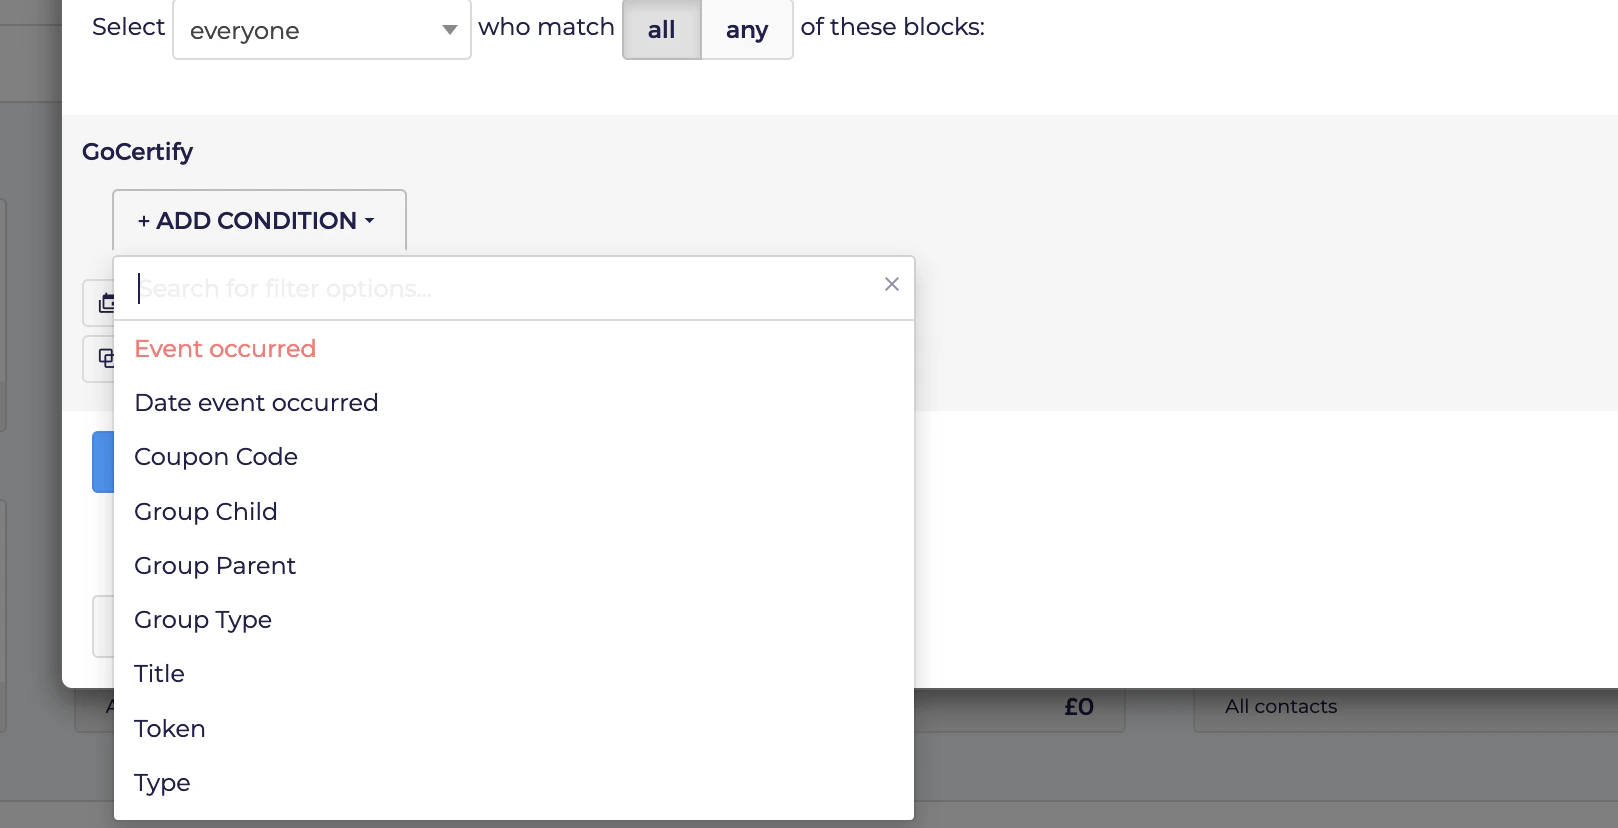 If you want to create a segment for each group we currently verify, you can then use the “Group Type”, “Group Parent” or “Group Child” attributes, according to this table of groups. For example: