> ## Documentation Index
> Fetch the complete documentation index at: https://docs.gocertify.me/llms.txt
> Use this file to discover all available pages before exploring further.
# Attentive
> Attentive is a customer engagement platform that helps you build and grow your email and SMS list.
Once the user submits their email and/or mobile number, Gocertify will try to generate a new Subscriber in Attentive.
If the email is already in the list, it will add the mobile number to the existing subscriber.
After that screen, when the user successfully verifies as a target group (student, healthcare, senior, etc)
a “Custom Event” (named “Gocertify”) will be sent to Attentive, including the details of the verification.
With this data, you will be able to generate smart Segments based on the details of these verifications
(e.g. "Students who have verified in the last year").
## Requirements to go live
In a nutshell, you will need to create a new "Custom App" in your Attentive account, share the credentials with
Gocertify, and contact your Attentive's account manager to create a new "Sign-up method" called "Gocertify"
(and share its id with your Gocertify account manager).
Sign in to your [Attentive](https://ui.attentivemobile.com/) account and go to the "Marketplace" section, located in the left sidebar.
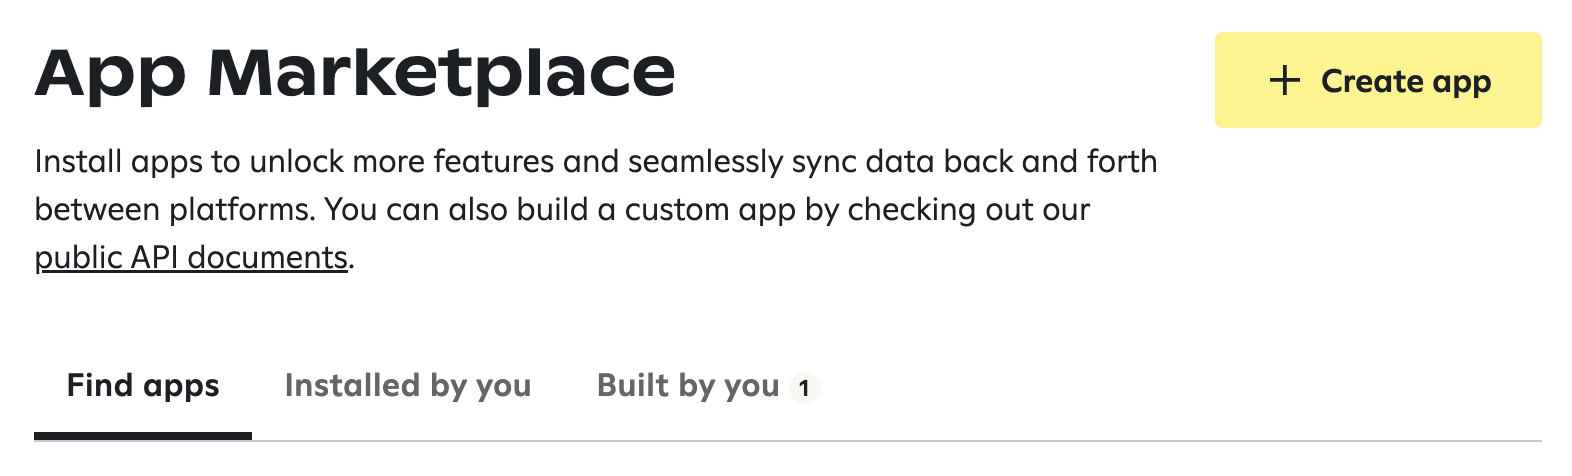
Once in the Marketplace, click on the "+ Create app" button.
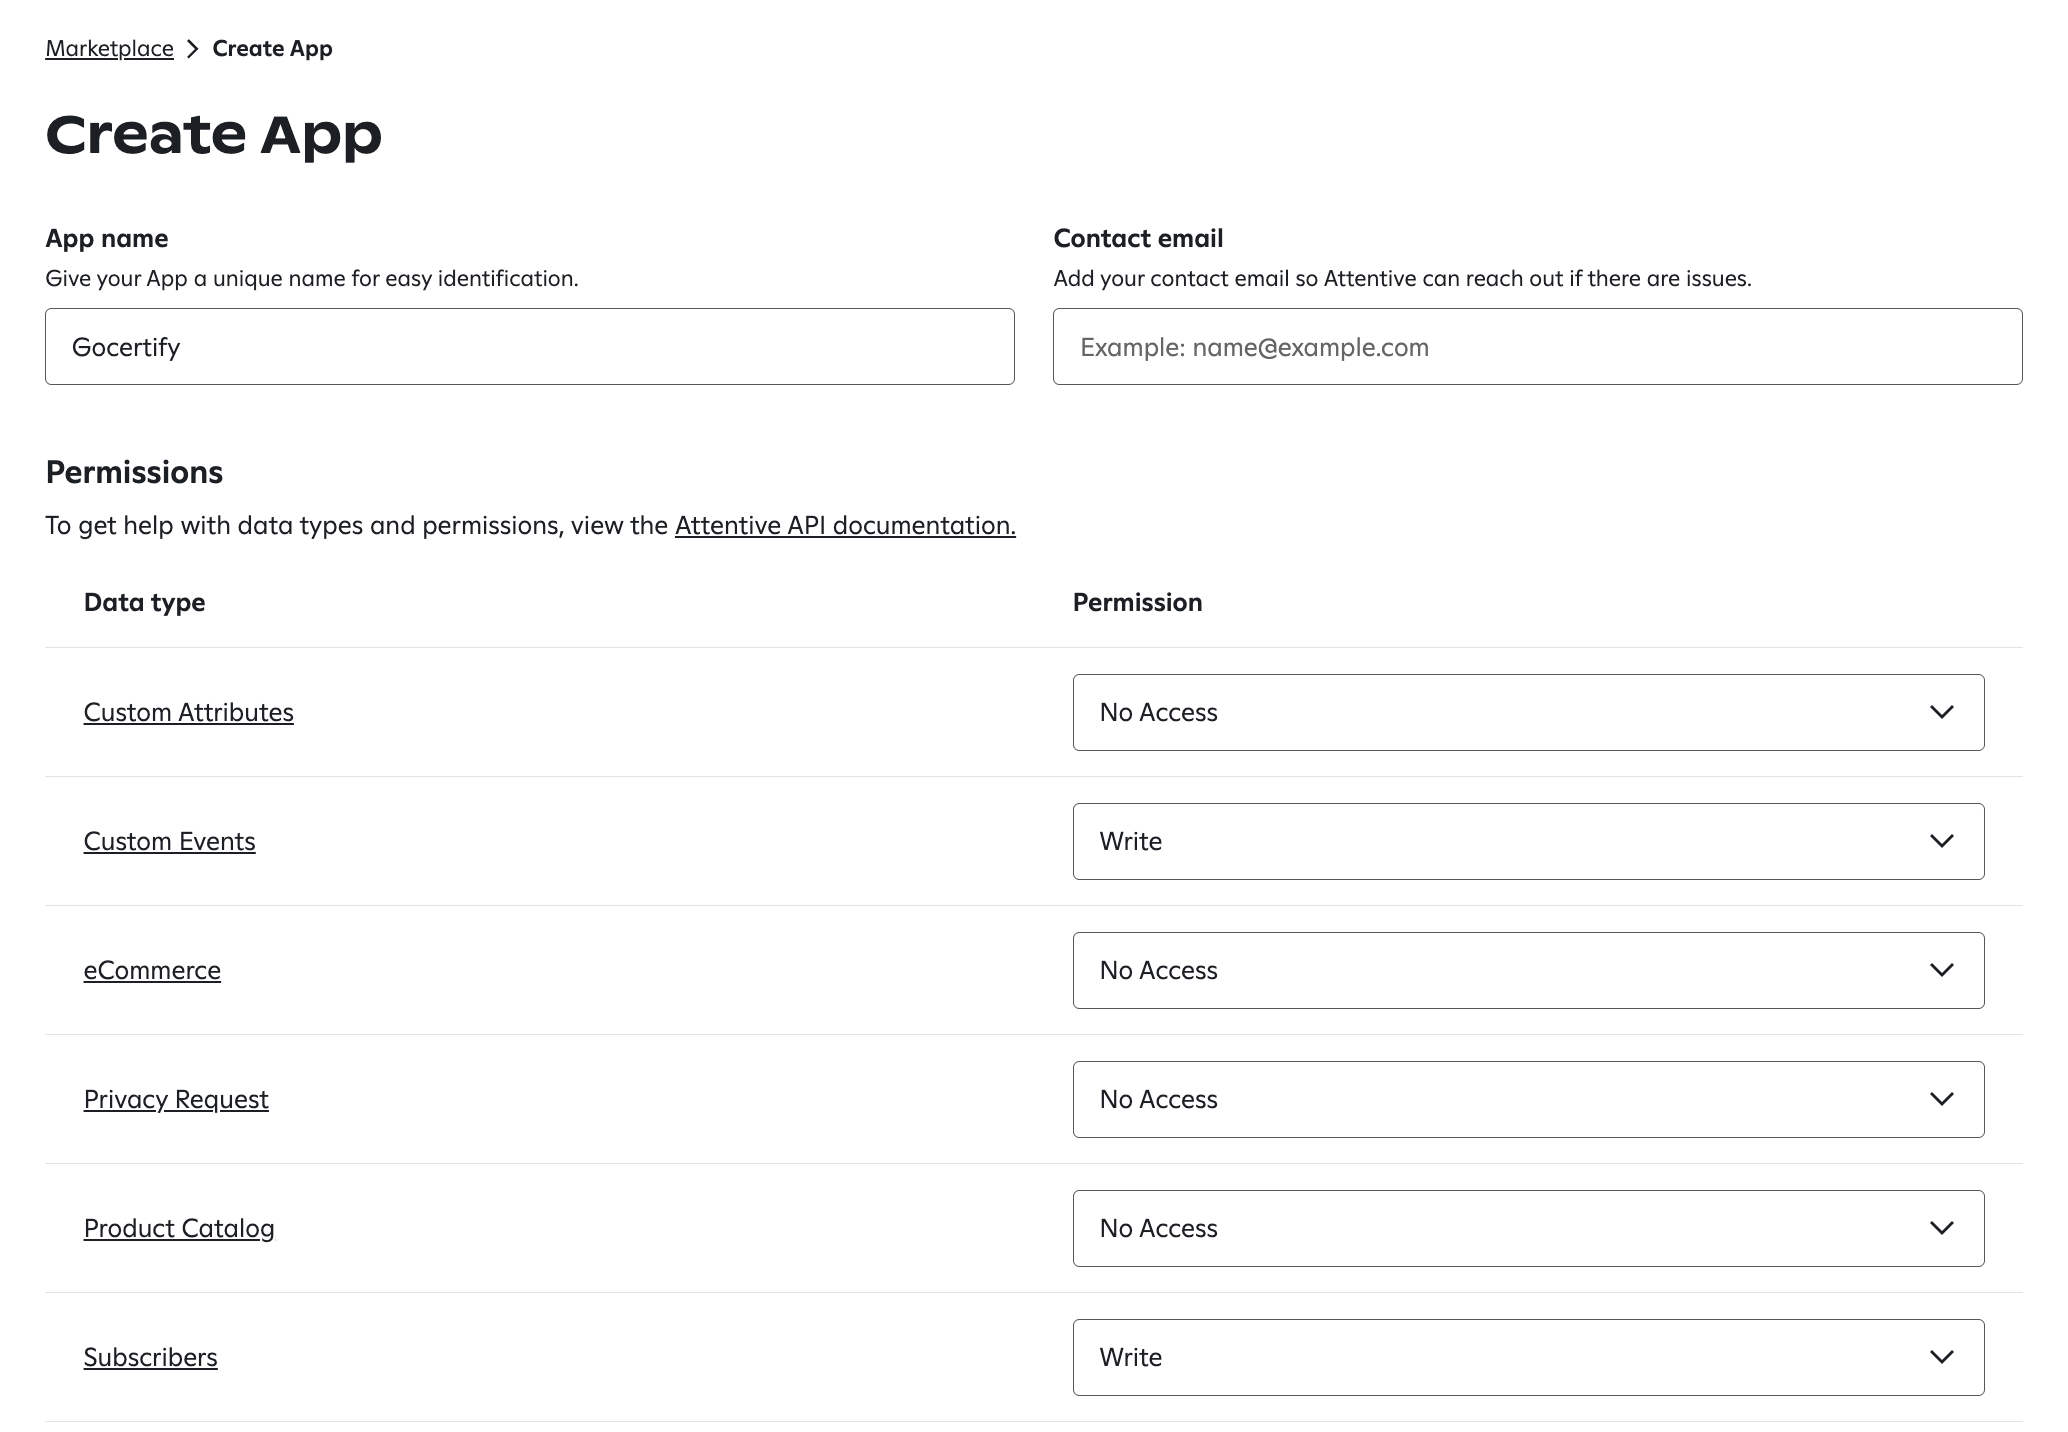
 Set the name of the app to "Gocertify", add your email address in the "Contact email" field, and
set the permissions to "Write" for "Custom Events" and "Subscribers".
Set the name of the app to "Gocertify", add your email address in the "Contact email" field, and
set the permissions to "Write" for "Custom Events" and "Subscribers".
 After submitting the form, you will be redirected to the app details page, with the API key on a pop up.
Copy that API key and share it with your Gocertify account manager, using [OneTimeSecret](https://onetimesecret.com/) to avoid exposing it in the chat.
Contact your Attentive's account manager to create a new "Sign-up method" called "Gocertify".
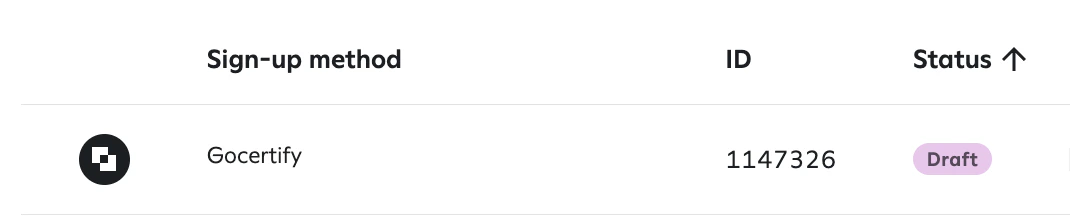
Once created, share its ID with your Gocertify account manager. You will find this method in the "Sign-up units" section, as shown below.
After submitting the form, you will be redirected to the app details page, with the API key on a pop up.
Copy that API key and share it with your Gocertify account manager, using [OneTimeSecret](https://onetimesecret.com/) to avoid exposing it in the chat.
Contact your Attentive's account manager to create a new "Sign-up method" called "Gocertify".
Once created, share its ID with your Gocertify account manager. You will find this method in the "Sign-up units" section, as shown below.
 In the future, you will be able to create your Sign-up method directly in the "Sign-up units" section,
by clicking on the "Create sign-up unit" button.
## How data will appear in Attentive
Each shopper that shares their data with your brand will appear as a **"Subscriber"** in your Attentive account.
By default, they will have 2 subscriptions, one for **"Email marketing"** and another one for **"SMS marketing"**.
Both subscriptions will need to be confirmed by them, by clicking a link in the email or the SMS.
You can see the reference to "Gocertify" in their"Sign-up unit".
In the future, you will be able to create your Sign-up method directly in the "Sign-up units" section,
by clicking on the "Create sign-up unit" button.
## How data will appear in Attentive
Each shopper that shares their data with your brand will appear as a **"Subscriber"** in your Attentive account.
By default, they will have 2 subscriptions, one for **"Email marketing"** and another one for **"SMS marketing"**.
Both subscriptions will need to be confirmed by them, by clicking a link in the email or the SMS.
You can see the reference to "Gocertify" in their"Sign-up unit".
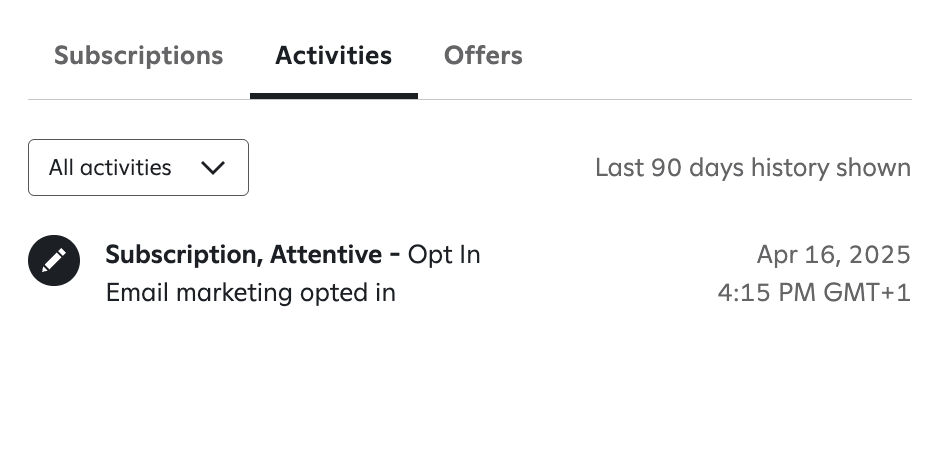
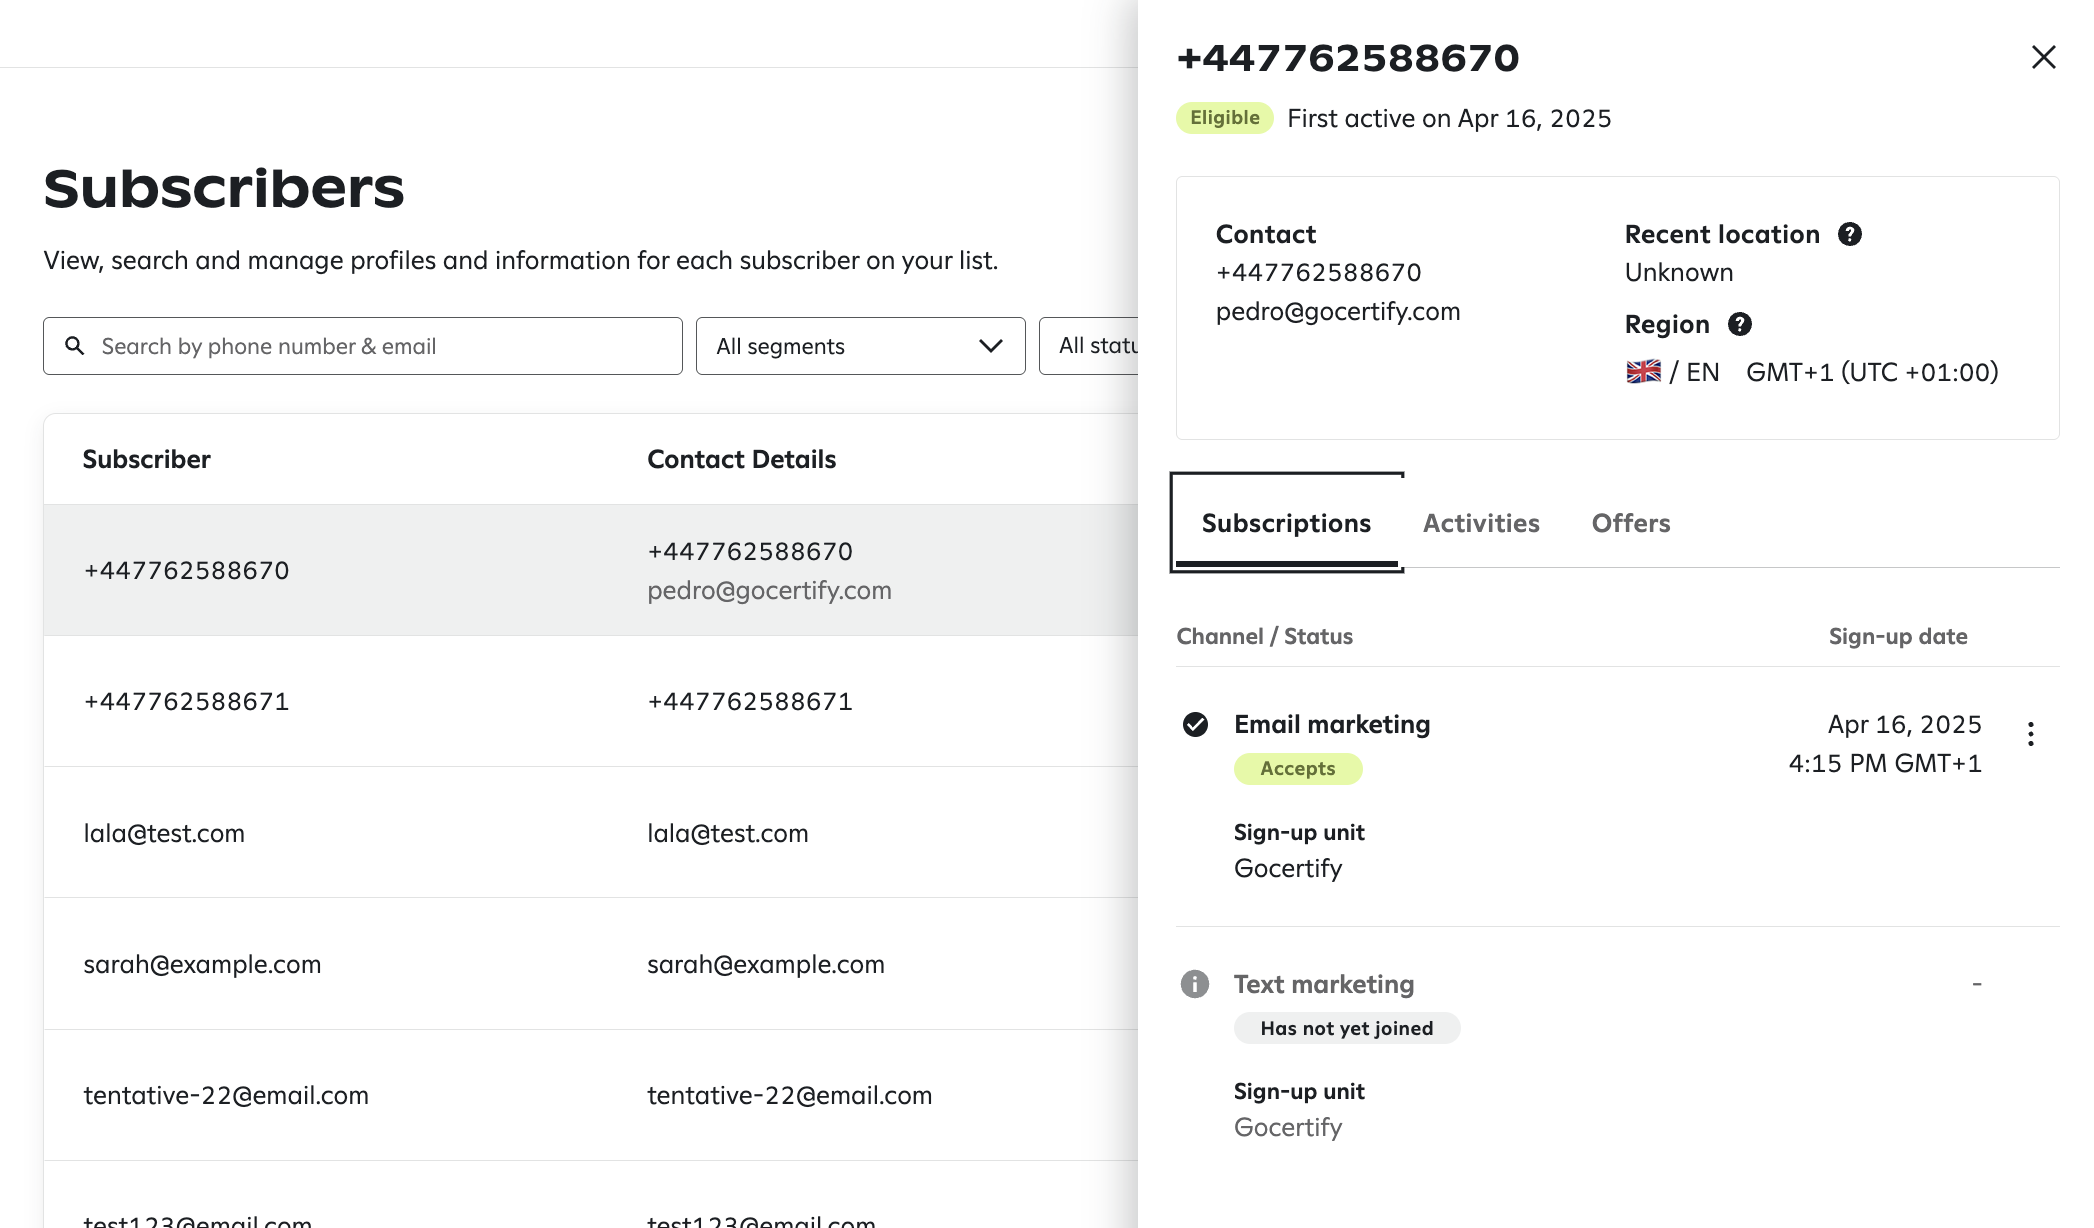 In the "Activities" tab, you will see all the events we have sent (when they claim an offer) and when they confirmed their subscriptions, as shown below.
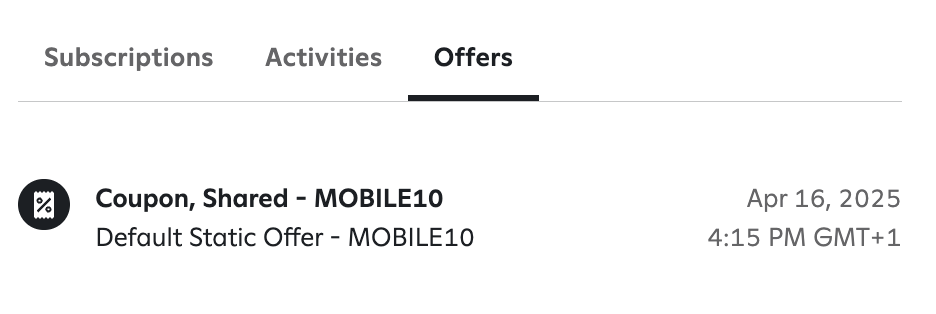
 In the "Offers" tab, you will see the usual content. Gocertify won't update this section.
 ## How to create segments in Attentive
In the side menu, go to the "Segments" section and click on the "+ Create segment" button and then:
Choose "Dynamic segment" and then click on "Create".
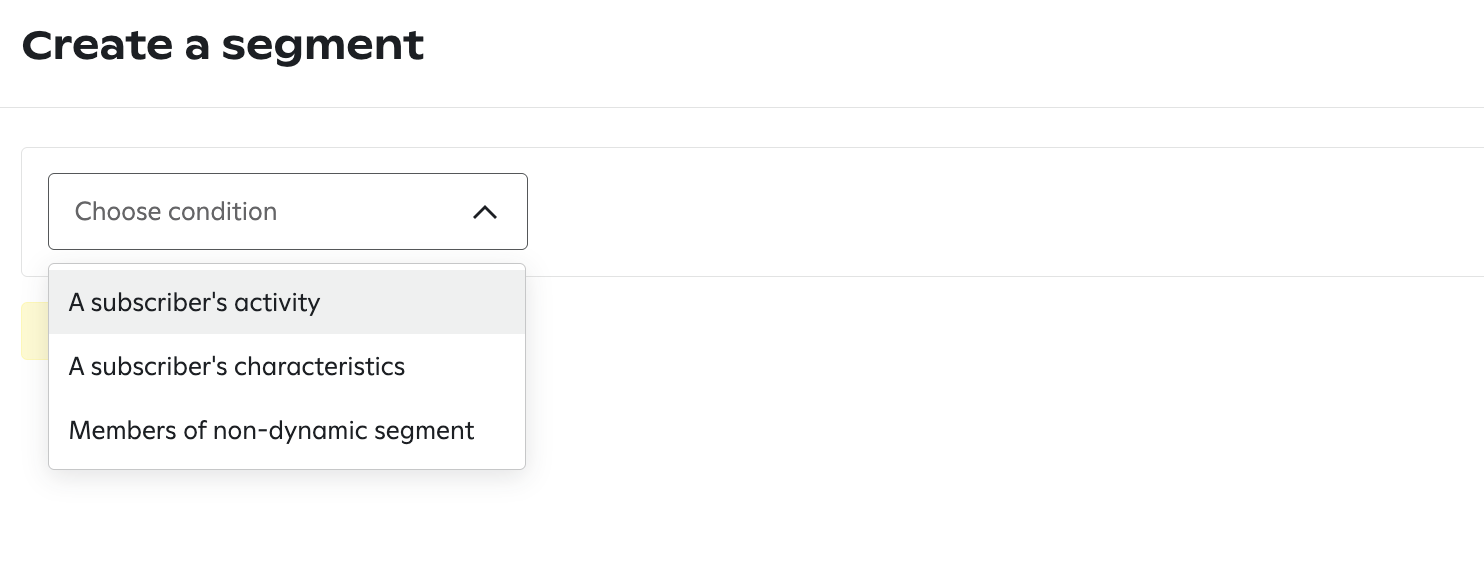
In this first dropdown, select the first option, for "A subscriber's activity", as shown below.
## How to create segments in Attentive
In the side menu, go to the "Segments" section and click on the "+ Create segment" button and then:
Choose "Dynamic segment" and then click on "Create".
In this first dropdown, select the first option, for "A subscriber's activity", as shown below.
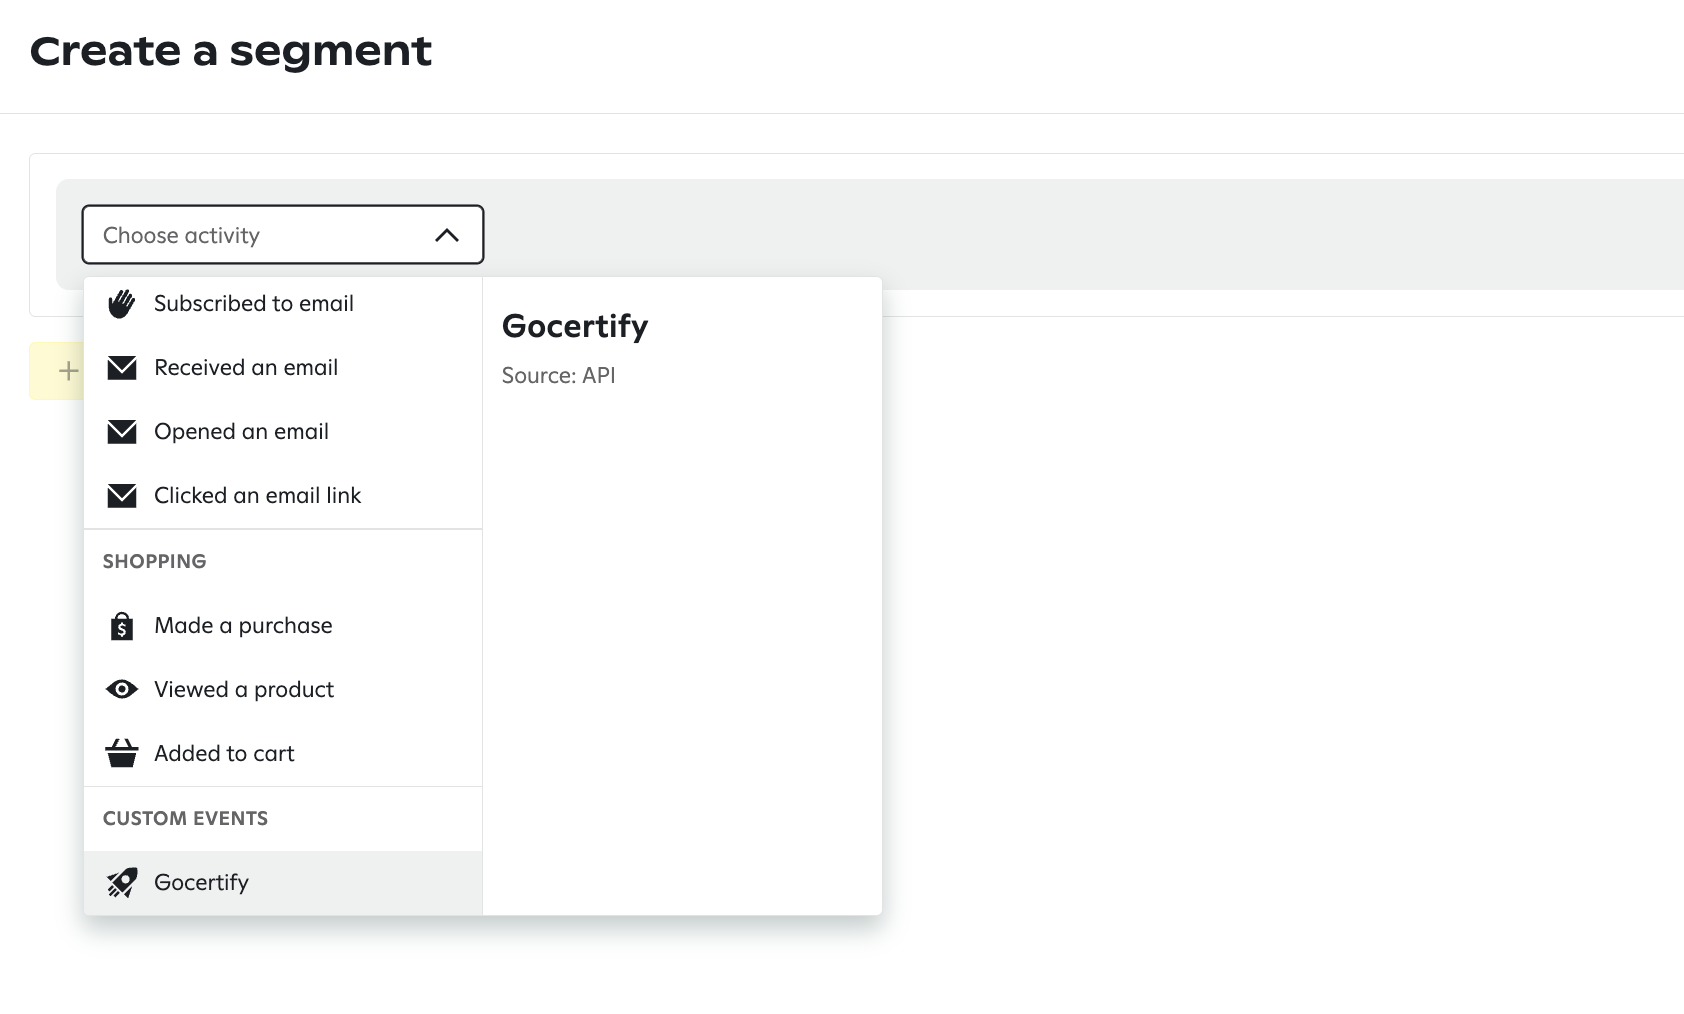
 In the second dropdown, scroll down and select the option "Gocertify", as shown below.
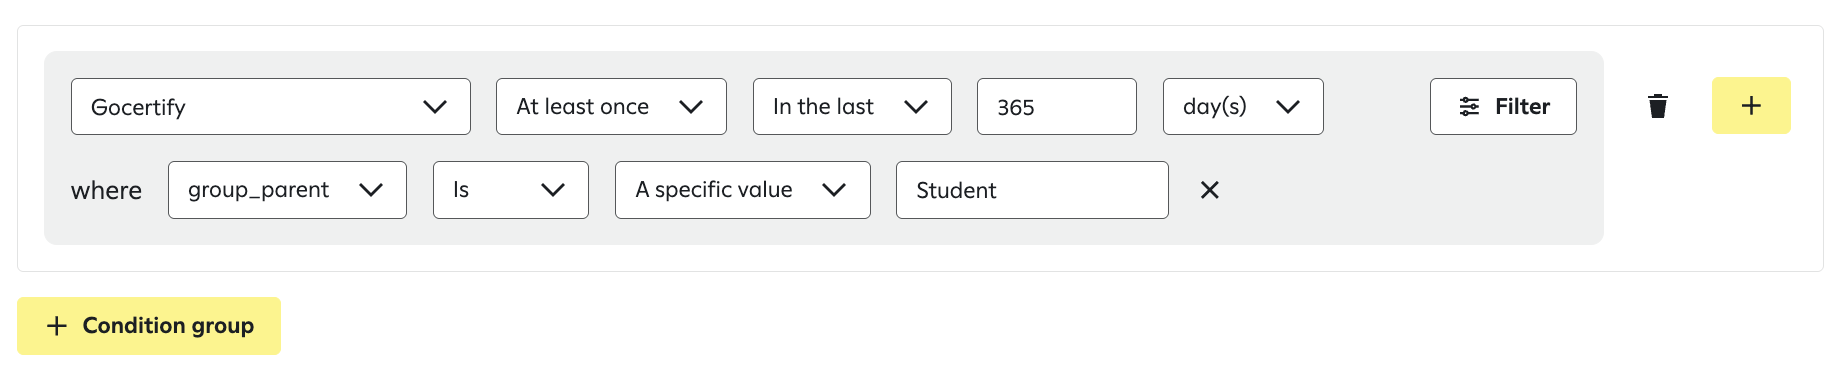
 By default, you will have a filter for "at least once in the last 365 days", meaning that this segment
will include all your subscribers that have interacted with your brand through Gocertify in the last year.
By default, you will have a filter for "at least once in the last 365 days", meaning that this segment
will include all your subscribers that have interacted with your brand through Gocertify in the last year.
 Most of the time, you will want to add a second filter for each of the groups you have in your offers.
For example, if you have an offer for students, a filter for "Student" will be added to the segment.
In order to do this, click in the "Filter" button and then select "parent\_group" in the dropdown.
Then, select the group you want to add to the segment, for example "Student".
Most of the time, you will want to add a second filter for each of the groups you have in your offers.
For example, if you have an offer for students, a filter for "Student" will be added to the segment.
In order to do this, click in the "Filter" button and then select "parent\_group" in the dropdown.
Then, select the group you want to add to the segment, for example "Student".
 Click on the "Create" button in the bottom right corner.
## Further segments
You will be able to use more information that we send in that "Gocertify" event, such as the user's country,
the campaign name, or any custom field you add to the DataCapture.
* `user_country`: the country of the user, in ISO 3166-1 alpha-2 format (e.g. "US", "FR", "ES", "GB", etc.)
* `campaign_title`: the title of the campaign the user verified as (e.g. "Students get 15% OFF at Acme")
* `campaign_slug`: the slug of the campaign the user verified as (e.g. "students")
Click on the "Create" button in the bottom right corner.
## Further segments
You will be able to use more information that we send in that "Gocertify" event, such as the user's country,
the campaign name, or any custom field you add to the DataCapture.
* `user_country`: the country of the user, in ISO 3166-1 alpha-2 format (e.g. "US", "FR", "ES", "GB", etc.)
* `campaign_title`: the title of the campaign the user verified as (e.g. "Students get 15% OFF at Acme")
* `campaign_slug`: the slug of the campaign the user verified as (e.g. "students")